Writing a well-structured, engaging article is easier than ever with Contentpen. This powerful AI writing tool online helps you generate, customize, and optimize content with just a few clicks.
Whether you’re crafting a quick blog post or a detailed guide, Contentpen streamlines the process, saving you time while maintaining quality.
In this guide, we’ll walk you through each step to help you create, refine, and publish your content effortlessly.
So, let’s get started!
What is Contentpen?
Contentpen is an AI-powered writing assistant designed to help users create high-quality, SEO- and GEO-optimized content efficiently.
The tool comes with the following features:
- SEO scoring: Contentpen analyzes your meta title and description, content readability, and internal and external linking to provide a realistic SEO score. This scoring helps you identify the areas for improvement and take relevant action.
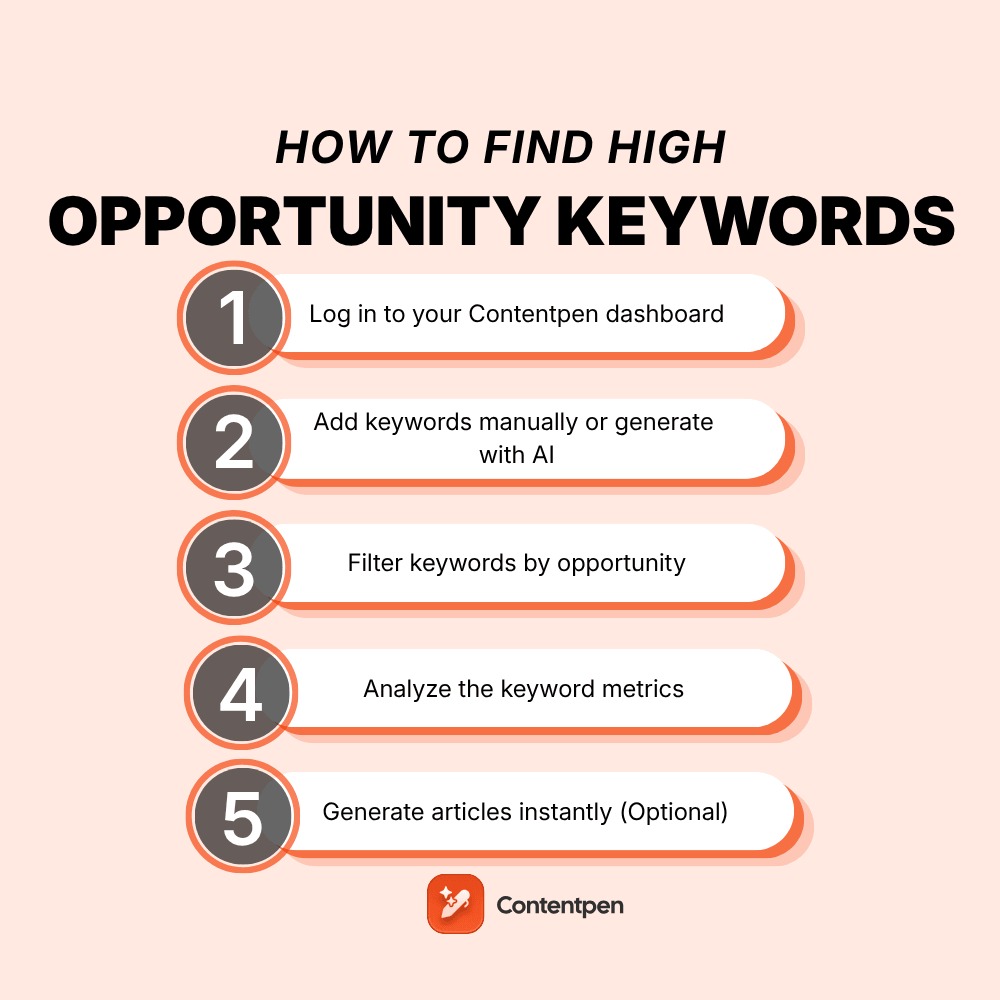
- Keyword research: Contentpen automatically displays keyword difficulty, search volume, and intent for keywords relevant to your niche to help you plan and write content that ranks and converts.
- Built-in media library: The media library manages all the uploaded media in one place. You can also store all the in-article and featured images Contentpen generates for you and categorize them using tags and attributes for better searchability.
- SERP analysis: The SEO platform analyzes all top competitors for a target keyword and creates outlines and writes content that helps you beat your rivals with confidence.
- Integrated publishing: With Contentpen, you can publish directly to Ghost, Wix, Webflow, Shopify, WordPress, and ContentStudio. The one-click publishing streamlines workflows and helps you meet deadlines.
- Website analytics: See your total clicks, impressions, CTR, and average position directly from Google Search Console in real-time. The tool helps you avoid tool switching so that you can focus on the metrics that matter without compromising productivity.
- SEO opportunities: Contentpen surface top page changes (winners) and pages that have lost traffic (losers) so that you can take appropriate action quickly. The AI-powered suggestions also show what you need to do to regain the top SERP positions.
Some other features, such as bulk content generation, content scheduling, etc., also come bundled in the ‘Premium’ package, which you can try with the free 7-day Contentpen trial today.
From outline to publish-ready content that fills them
Structured
Consistent
SEO-aligned
Fast
Steps to write SEO and GEO-optimized articles with Contentpen
Now that you know the details about our platform, let’s discuss the flow of writing an actual article with Contentpen.
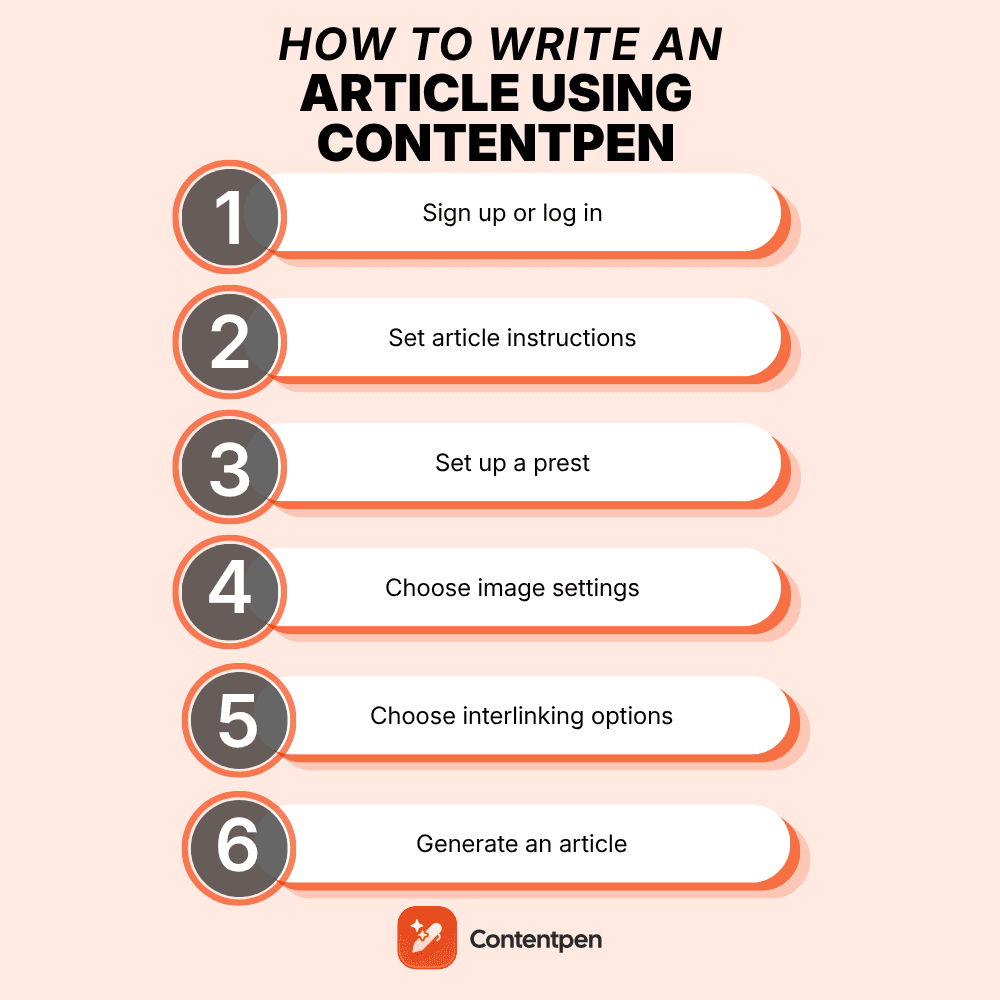
Step 1: Sign up or log in
Visit the Contentpen website and click “Sign up” if you’re a new user or “Log in” if you already have an account.
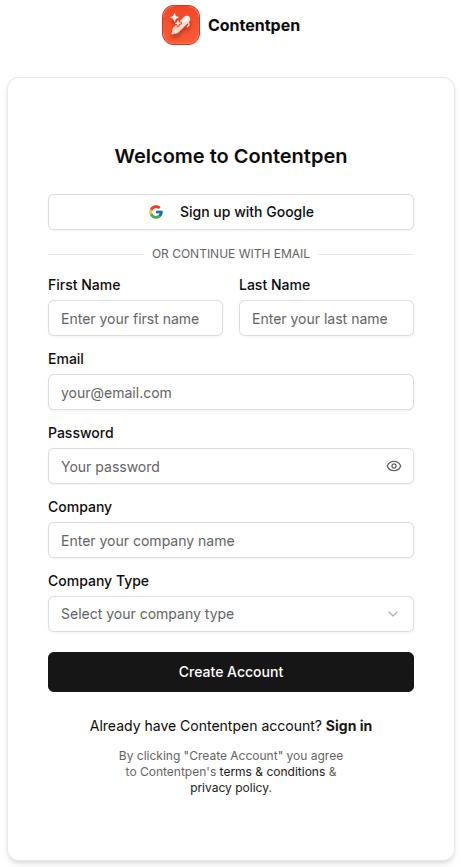
Enter your details, including first and last name, email, password, company name, and type. For first-time users, you will be requested to enter your card details, but don’t worry, you won’t be charged anything. You will gain access to our free 7-day trial, which you can cancel at any time.
After entering all the information, enter your credentials and access your main Contentpen dashboard.
Step 2: Create a new article
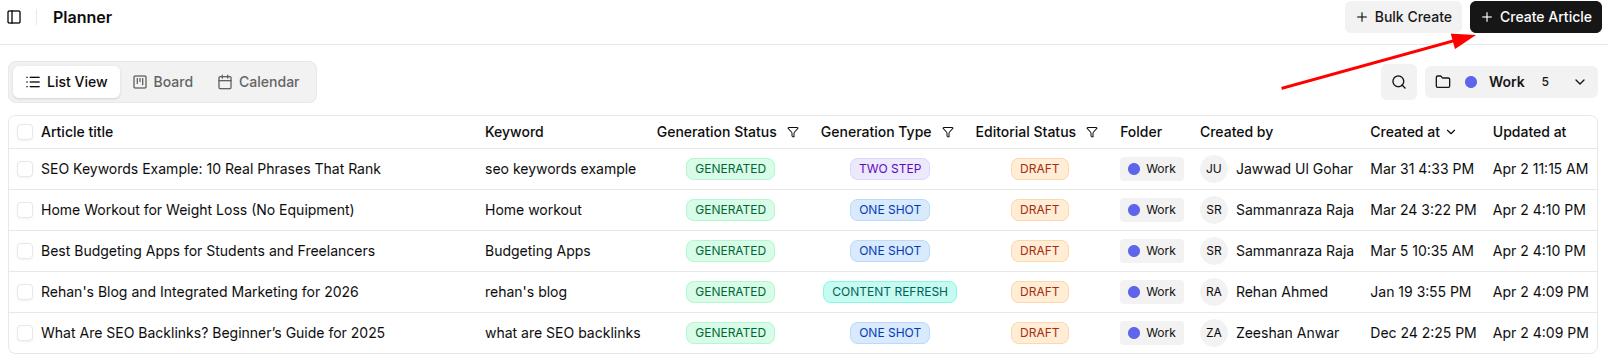
Once inside the dashboard, navigate to the “Planner” section. Click on the “Create Article” button in the upper right corner to start writing.
Step 3: Choose a template
Once you click this button, you’ll see the template screen. Here, you can choose between the following 5 templates:
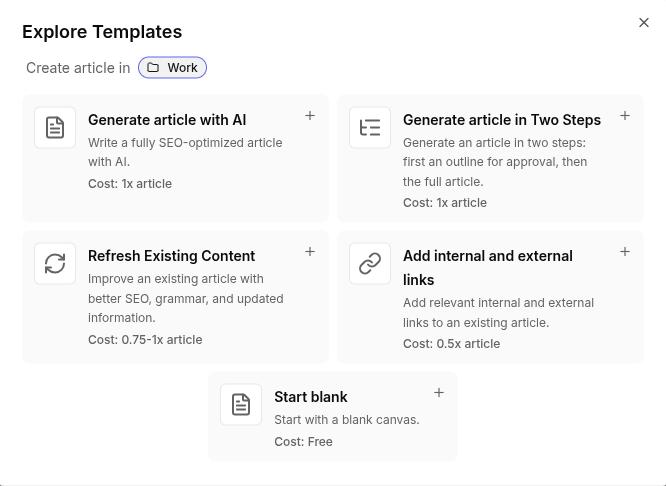
- Generate article with AI: In this mode, Contentpen will create an article in one shot using just your content preset, focus keyword, and secondary keywords.
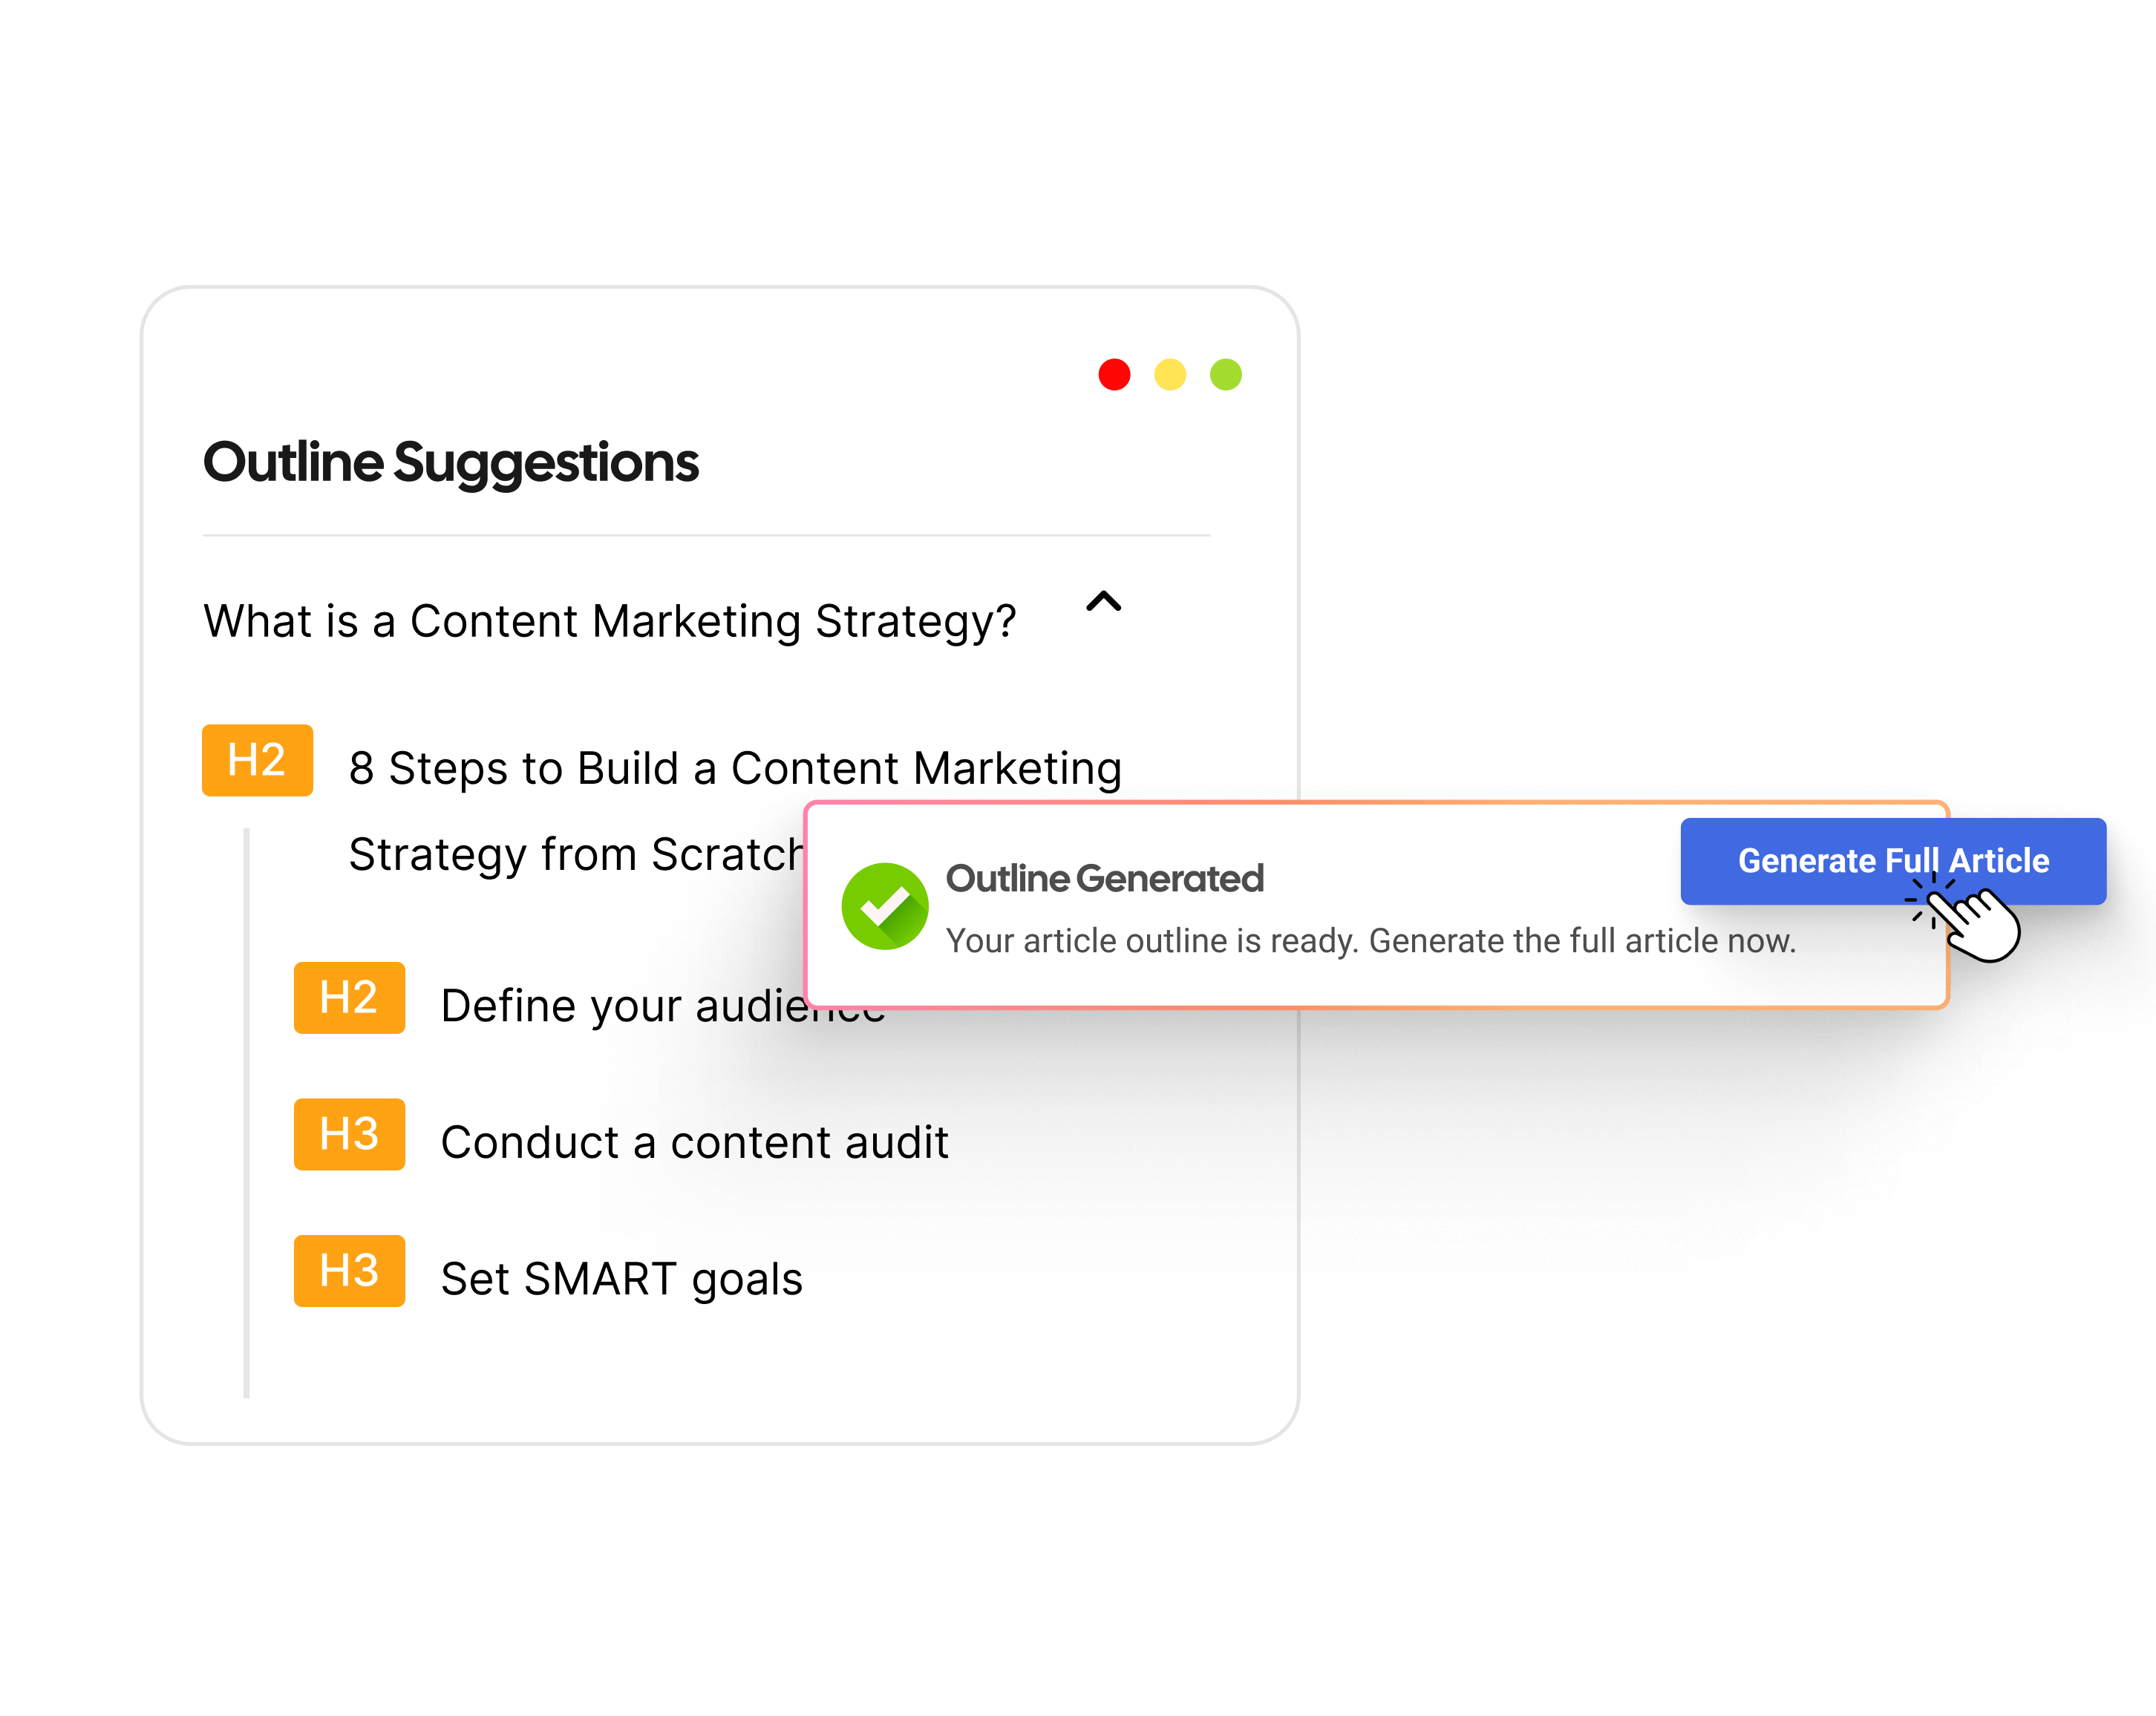
- Generate an article in Two Steps: This template works in a two-step process: Contentpen will first create a blog outline, which you can edit or modify according to your needs, before generating the final article.
- Refresh Existing Content: If you don’t want to start from scratch, you can also refresh content by adding angles missed by competitors to give you a ranking edge. This mode also generates relevant blog visuals to enhance audience engagement and CTR.
- Add internal and external links: With this template, the AI blog writer only modifies the internal and external links in your existing content. However, before choosing this option, make sure you’ve set up the sitemap in Contentpen properly.
- Start blank: If you don’t want to receive any AI-generated text and want the creative control yourself, you can start blank. During your write-up, you can take help from our ‘Ask AI’ assistant to refine the clarity and delivery of content.
Step 4: Customize your article settings
Contentpen offers 6 key customization categories to make the best possible blogs for your requirements.
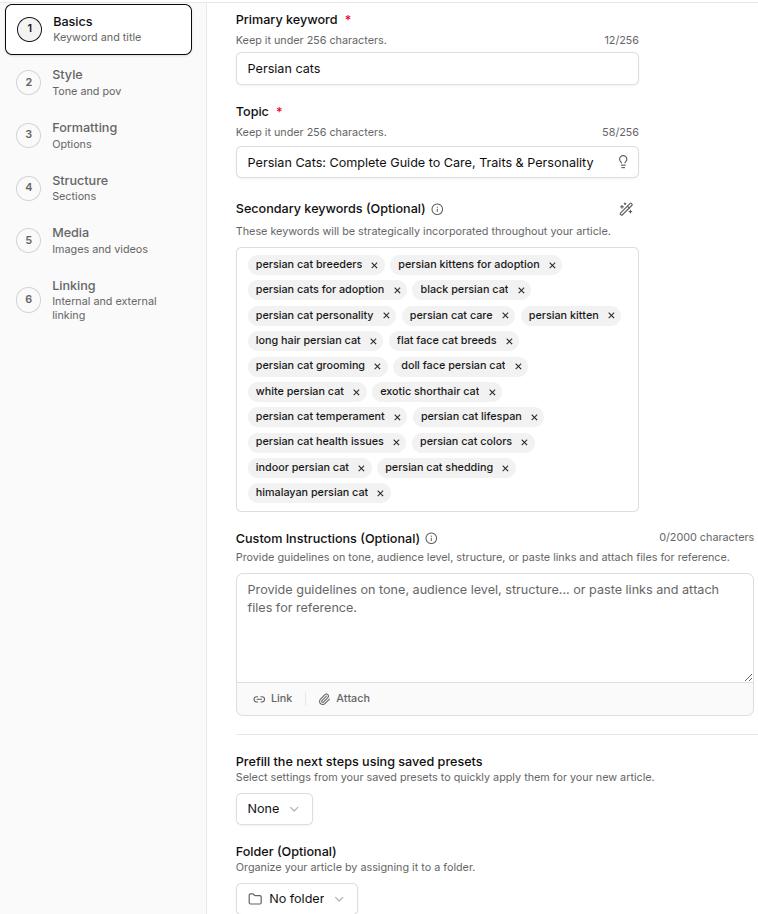
- Basics – Add your primary keyword, topic, and secondary keywords, or use our integrated AI for help. Include any custom instructions if needed. Then, choose your Contentpen preset and the content folder before clicking ‘Next’ to proceed.
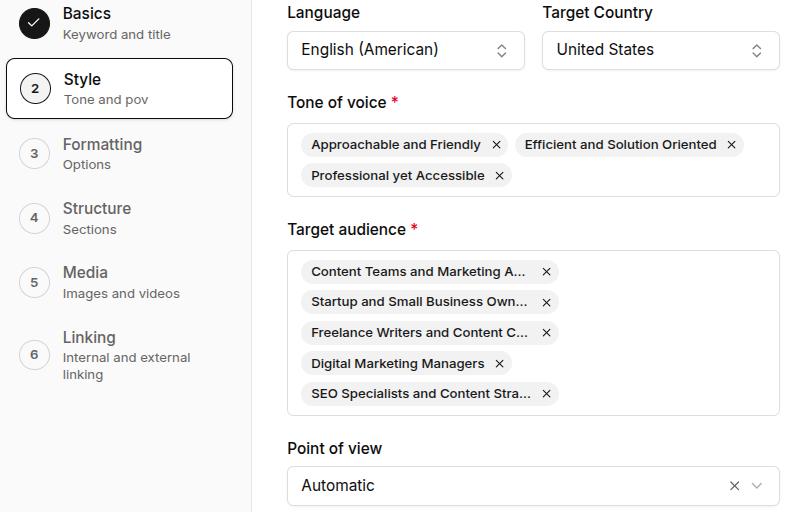
- Style – Define the tone of voice, target audience, and point of view you want for your article. You can also choose from 50+ languages to write your article and multiple target countries for a better impact.
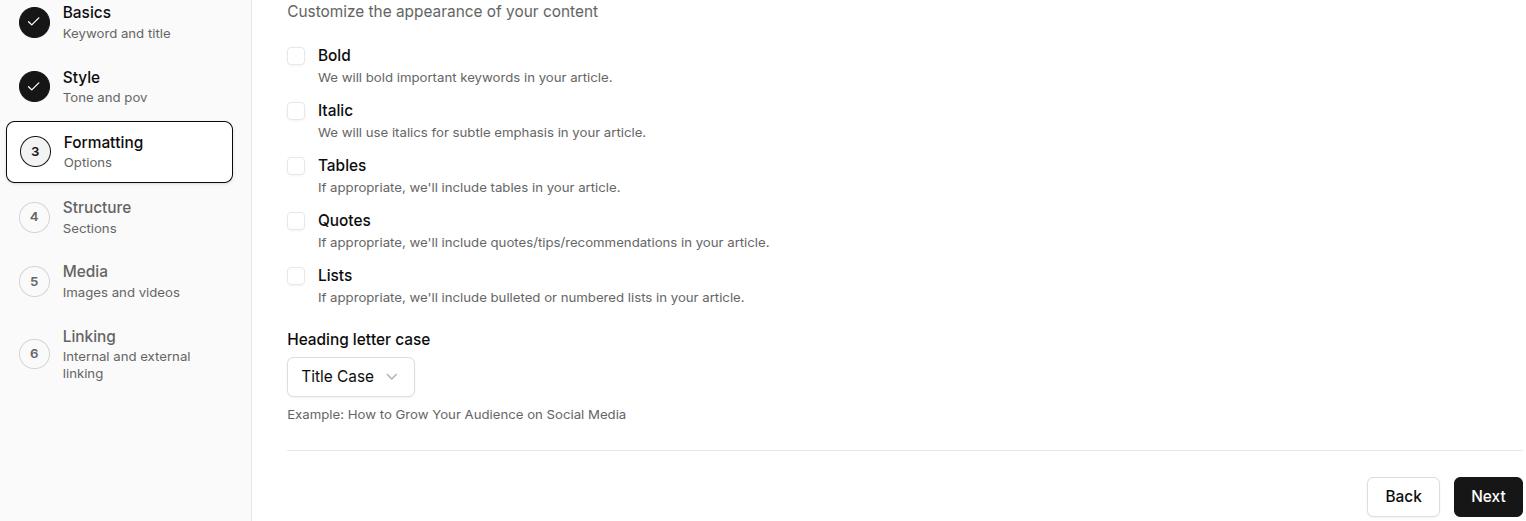
- Formatting – Choose formatting options like bold, italics, tables, quotes, and lists for your content. Select the heading letter case before moving on to the next stage.
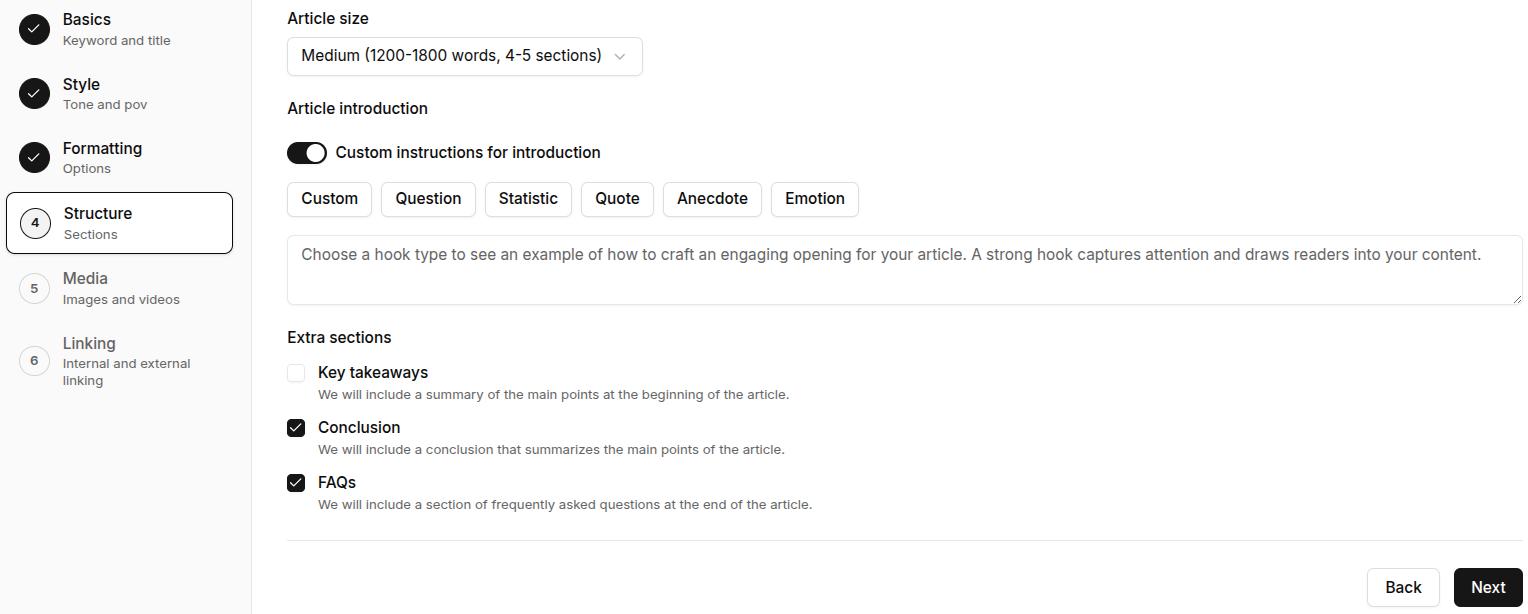
- Structure – Set the article size (content length). Here, you can also give custom instructions for the article introduction. Finally, tick the extra sections needed in the blog, for instance, key takeaways, conclusions, and FAQs. Click ‘Next’ to proceed.
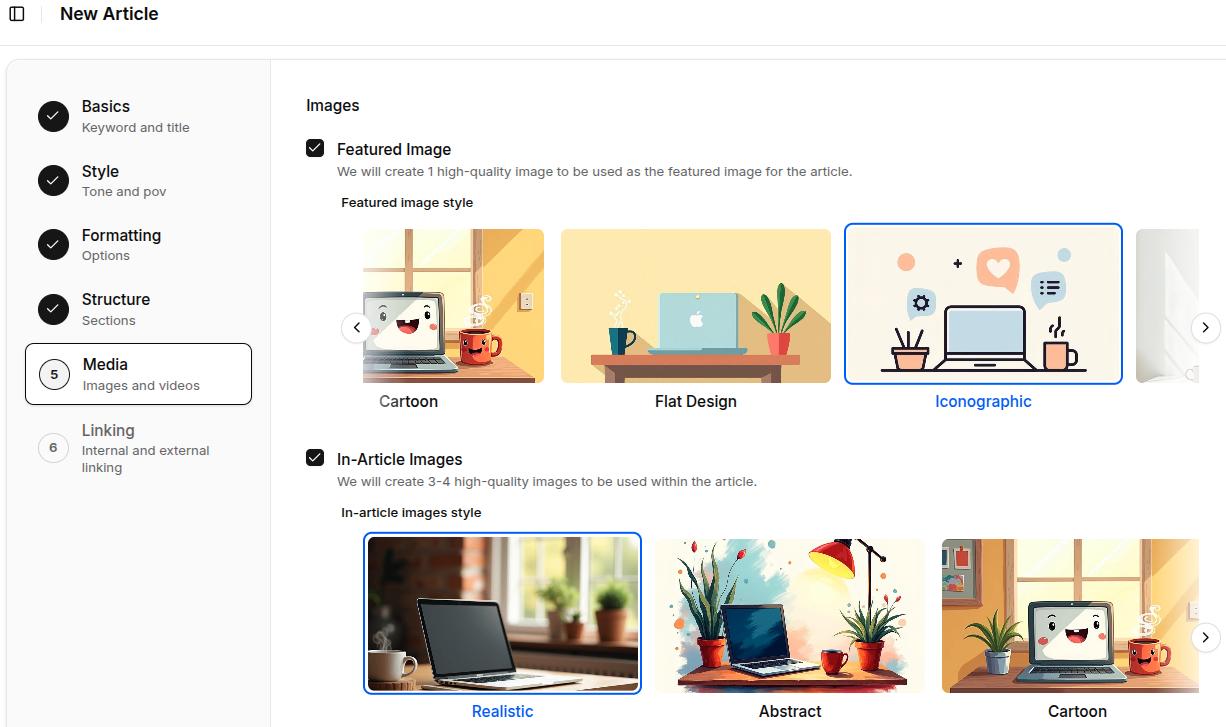
- Media – Select the type of featured and in-article images you want generated for the article. You can choose between 12 different visual styles to make your content look exactly how you like.
- Linking – At this screen, you can customize your internal and external links. Add your sitemap if you haven’t already to enable internal linking. Include or exclude domains that you don’t want to see as external links, or toggle them off entirely.
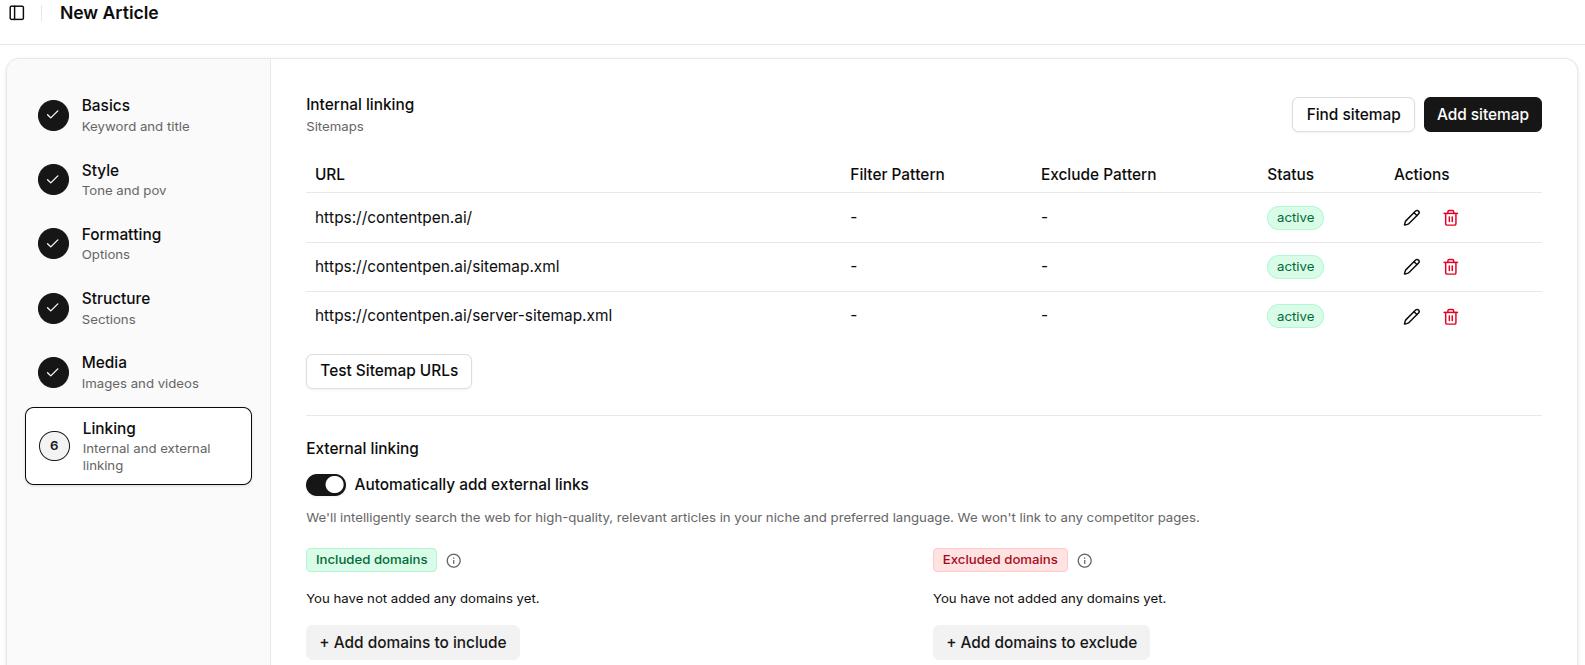
Pro tip: Use the ‘Test Sitemap URL’ button to double-check if Contentpen can access your site structure for effective internal linking.
Step 5: Generate the article
After completing all the article settings, you may see the ‘Ready to create your article’ screen, where you’ll be asked to save your current settings as a preset or continue to create the article.
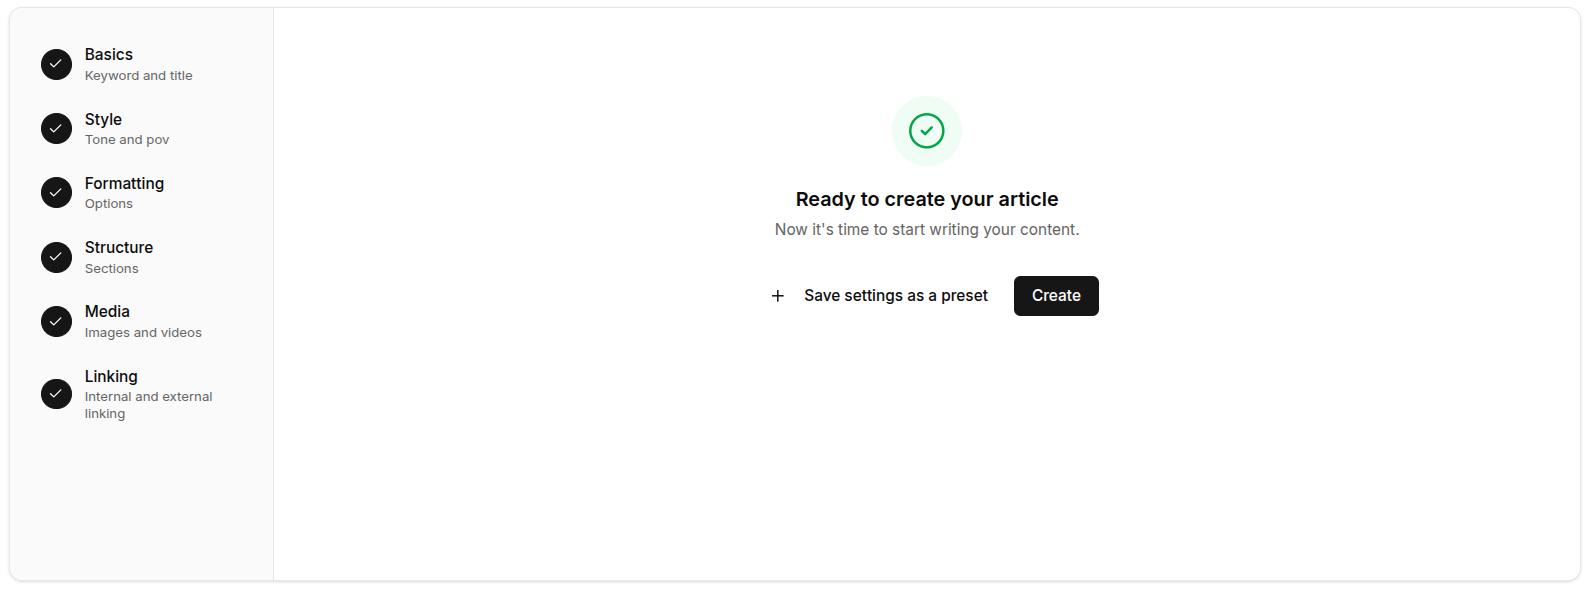
After you click ‘Create’, wait for a while until Contentpen is done processing your request. The time taken to complete processing depends on the type of content template and the length of the article selected.
Step 6: Review and optimize your article
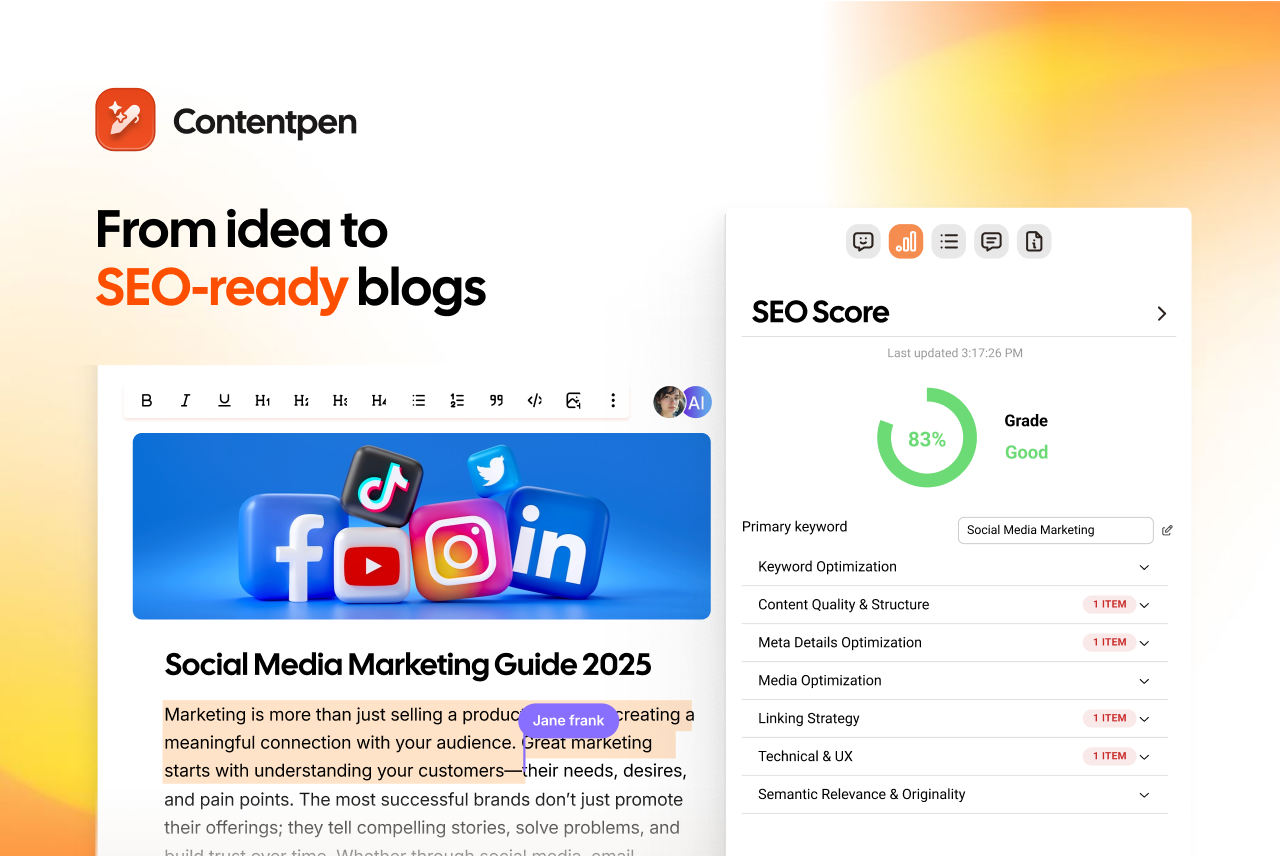
If you’ve closely followed all the steps so far, you’ll now see the tool’s output: a complete SEO- and GEO-optimized article.
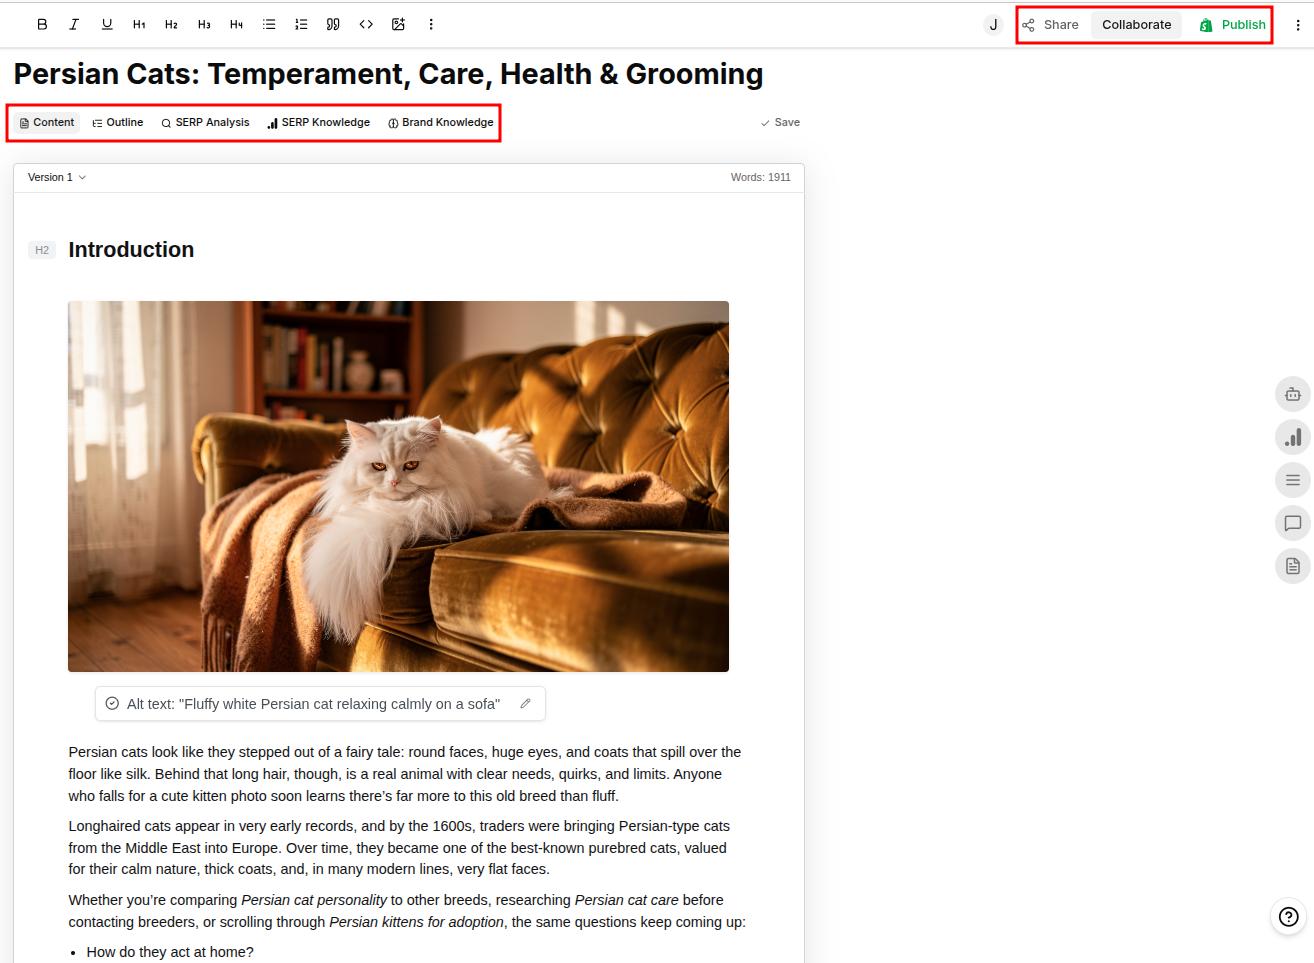
Once Contentpen generates your article, do a quick review before publishing.
- Check your SEO score by clicking the right-hand panel. Contentpen analyzes your meta title and description, keyword usage, readability, and linking strategy to flag what’s working and what’s not. Work through the suggestions to further enhance the SEO score.

- Refine with Ask AI. If any section feels off, highlight it and use the ‘Ask AI’ assistant to rephrase, expand, or adjust it. You can also give it broader instructions like “make the introduction more conversational” or “shorten the conclusion.”
- Review SEO article settings, including its metadata, slug, target keyword, audience persona, and editorial status.
- Add comments in the blog to help your teammates understand your point of view for a particular angle and work together to further polish the article.
Want to go deeper? If you’re revisiting an article that’s already live and losing traffic, check out our step-by-step guide on how to refresh an existing article in Contentpen.
Step 7: Export and publish
Finally, it is time to export and publish your article. There are multiple things that you can do here:
- View the content outline and verify the content structure followed by the tool.
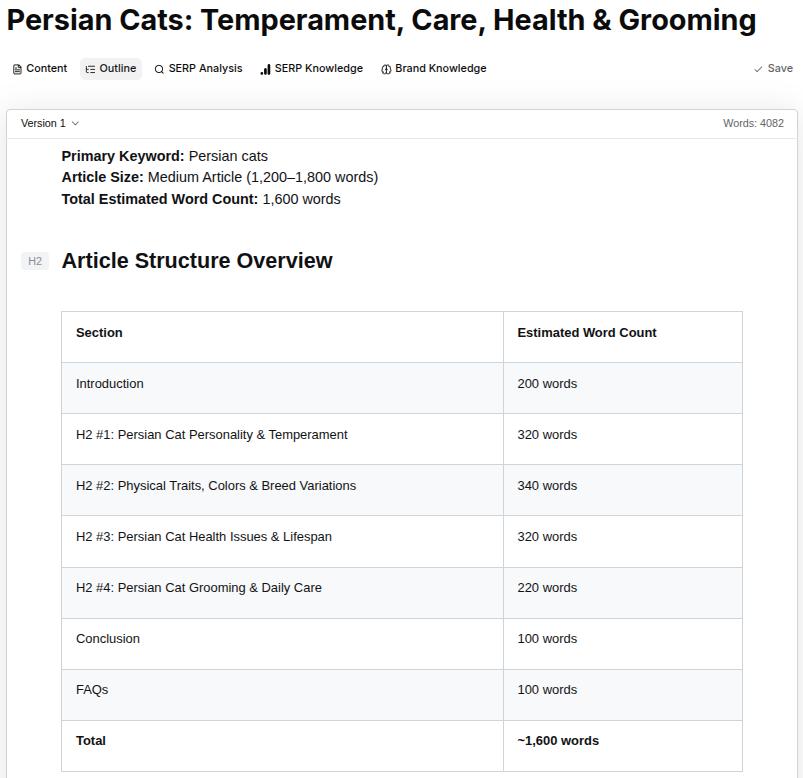
- Check SERP analysis to compare how other pages are written for the same target keyword.
- SERP knowledge to verify the data gathered by Contentpen from top pages to write the article.
- Brand knowledge implementation: how Contentpen utilized your product or services to create relevant CTAs.
After you’re done. You can:
- Share the article link with your team for feedback.
- Assign the content for editing or review.
- Publish directly to your blog on WordPress, Wix, Webflow, Shopify, or Ghost CMS platform.
- Save your article and export it in your preferred format, as HTML, Markdown, or .docx, to your device.
Now that you have learned how to write an article using Contentpen, put your knowledge to the test and create stellar pieces today!
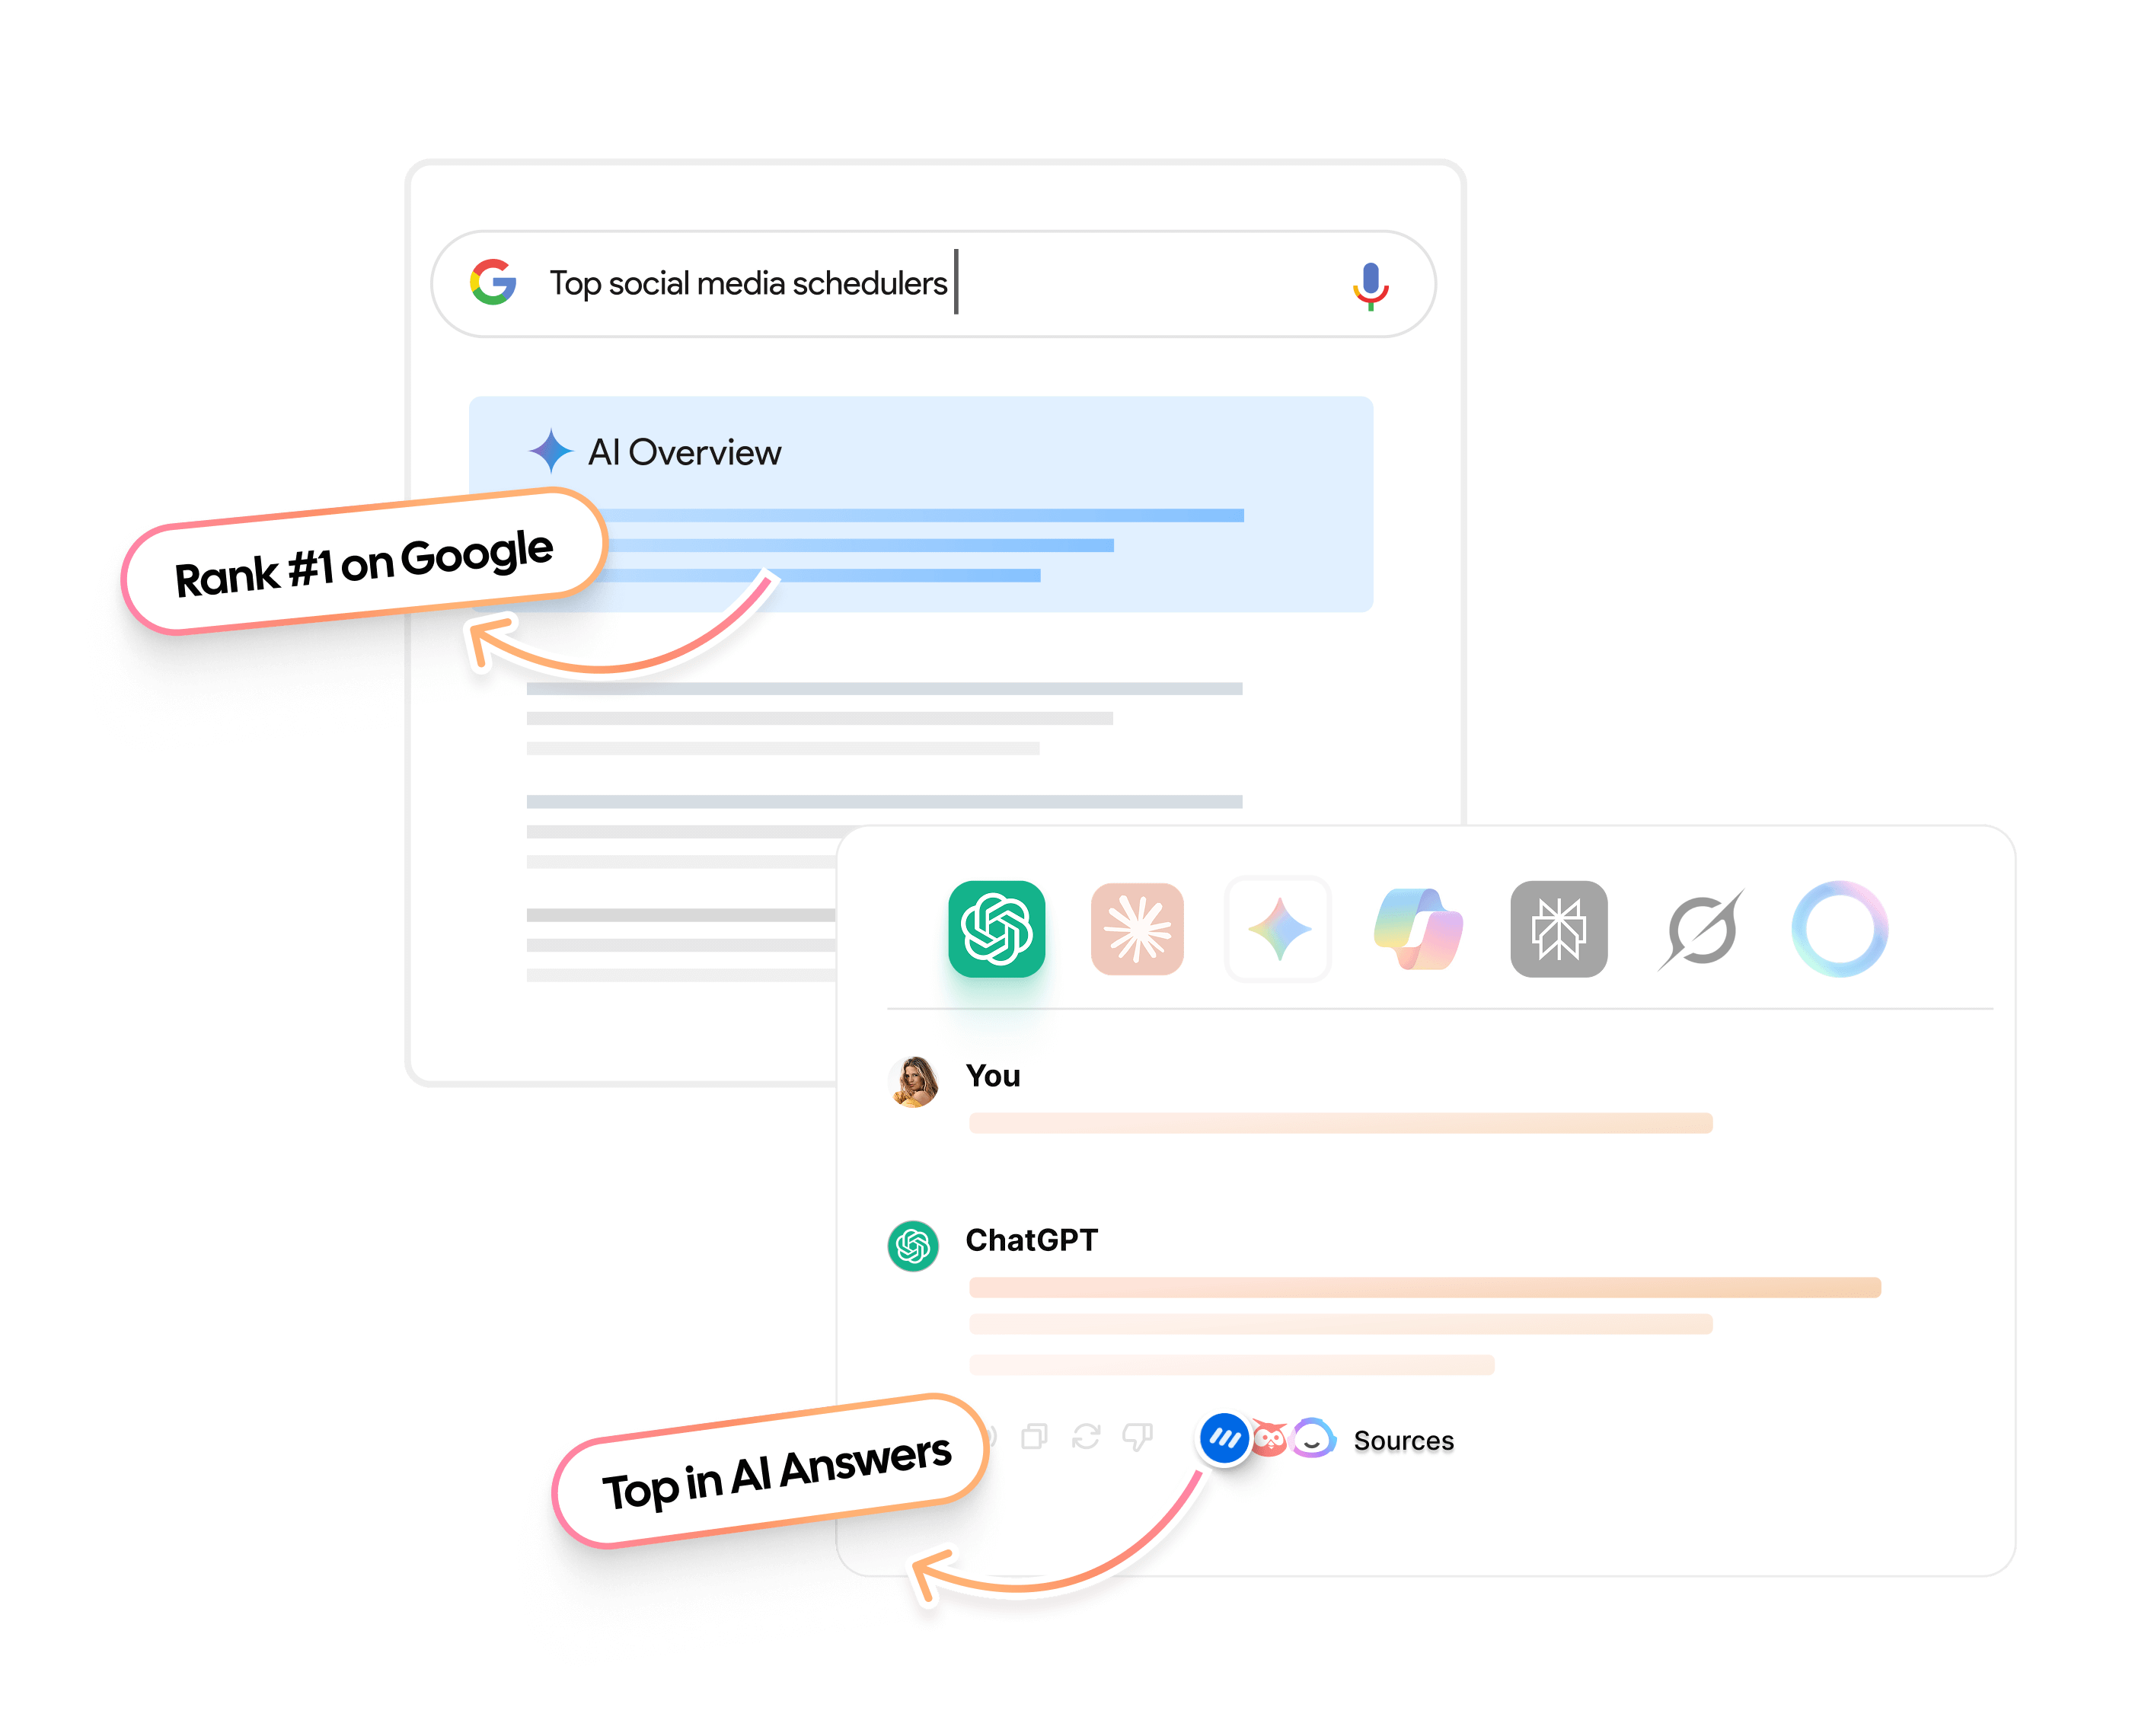
Write content that’s built to rank, not just read
Create search-optimized blogs aligned with SEO and GEO signals, so your content performs well across search and AI-driven discovery.
Try SEO Blogging FREE →