 11 minutes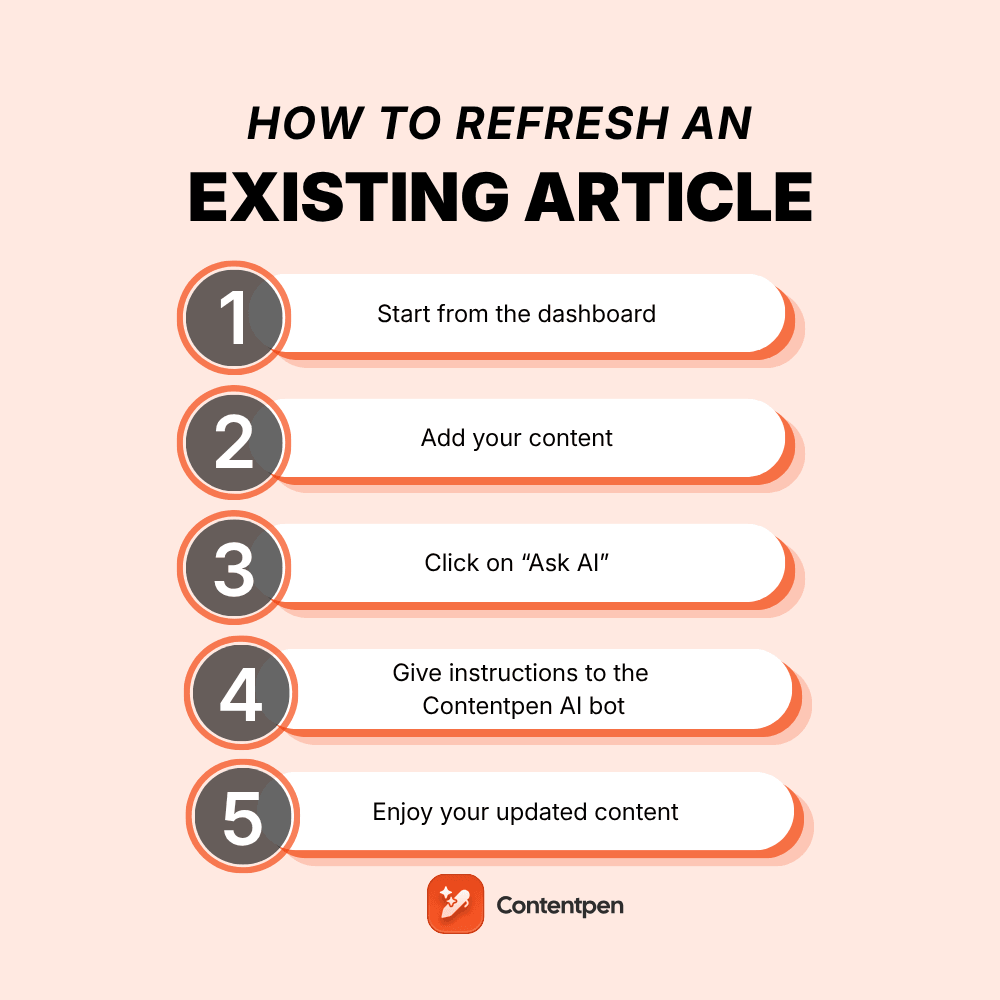
Content doesn’t just need to be created; it needs to stay relevant, accurate, and engaging. That’s why Contentpen’s article refresh feature is so important for bloggers, marketers, and SEO professionals alike.
Whether you’re updating outdated stats, improving SEO, or giving your piece a modern twist, Contentpen makes refreshing articles quick and simple.
In this guide, we’ll walk you through step-by-step instructions on how to refresh an existing article in Contentpen. We will also see how you can update a published piece for better SERP rankings and AI visibility.
So, let’s get started.
Why refresh an existing article?
Before diving in, let’s quickly understand the value of refreshing content:
- Boost SEO performance – Updated, accurate content is more likely to hold or regain its rankings, especially for topics that change often.
- Update outdated information – Stats, trends, and tools change.
- Improve readability and structure – Content evolves as user expectations shift.
- Optimize for conversions – Refresh your CTAs or align with new campaign goals.
- Win back AI citations – AI engines favor current, clearly structured answers, so refreshed content has a better chance of being cited in ChatGPT, Perplexity, and Google’s AI Overviews.
Instead of writing from scratch, Contentpen allows you to breathe new life into existing content with minimal effort.
Not sure which articles to refresh first?
Contentpen’s SEO opportunities flags pages losing traffic to content decay, pages with low click-through rates, and keywords where your own articles compete with each other, so you know exactly where a refresh will have the biggest impact.
Also read: What is AI content automation: Key benefits, tools and tips.
Step-by-step approach to refreshing an article in Contentpen
Below are the steps needed to convert your existing draft into a powerful piece.
Step 01: Start from the dashboard
Log in to your Contentpen account. Once you’re inside, you’ll land directly on the main dashboard.
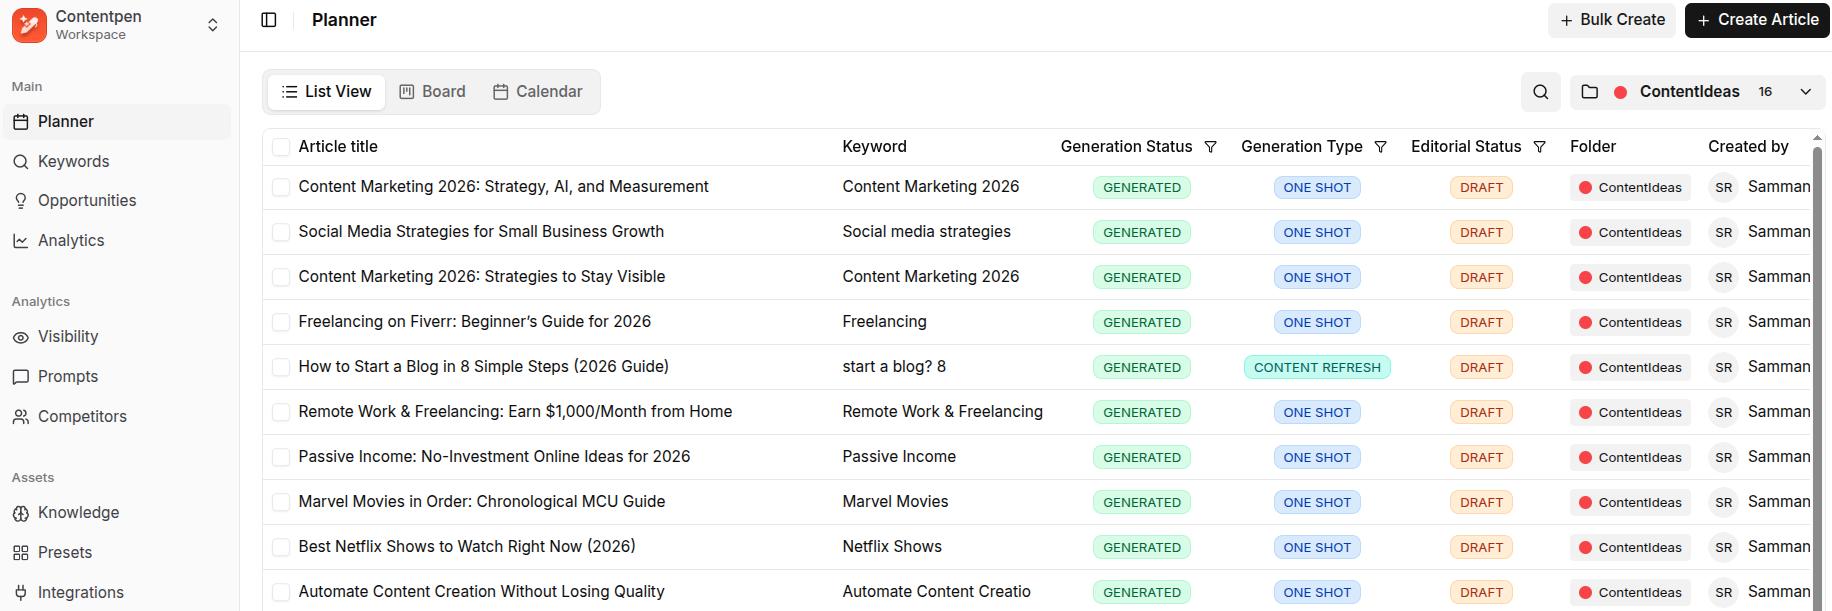
From here, click the “Create Article” button in the top right corner.
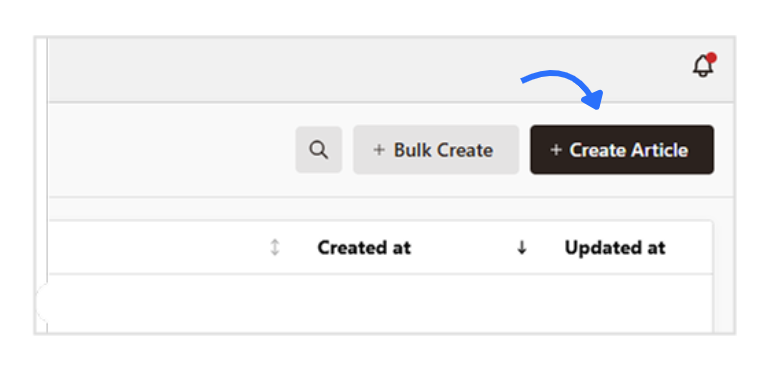
A pop-up will appear with five options. The fastest way to refresh a published post is the ‘Refresh Existing Content’ template.
Enter the live URL of the published article, then choose one of three refresh modes depending on how much you want to change: Enhance Existing, Full Rewrite, or Research & Update. Contentpen then shows the original and refreshed versions side by side, so you can review every change before accepting it.
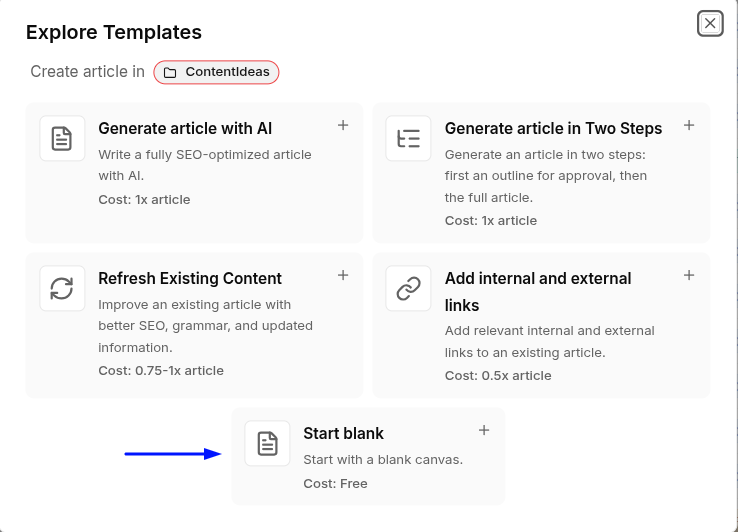
If you’d rather work section by section with your own instructions, select “Start Blank” instead and follow the steps below.
Related Read: How to write an article using Contentpen.
Step 02: Add your content
Moving on with the blank template, you’ll now have an empty canvas to work with. Here, paste the text of the article you want to refresh.
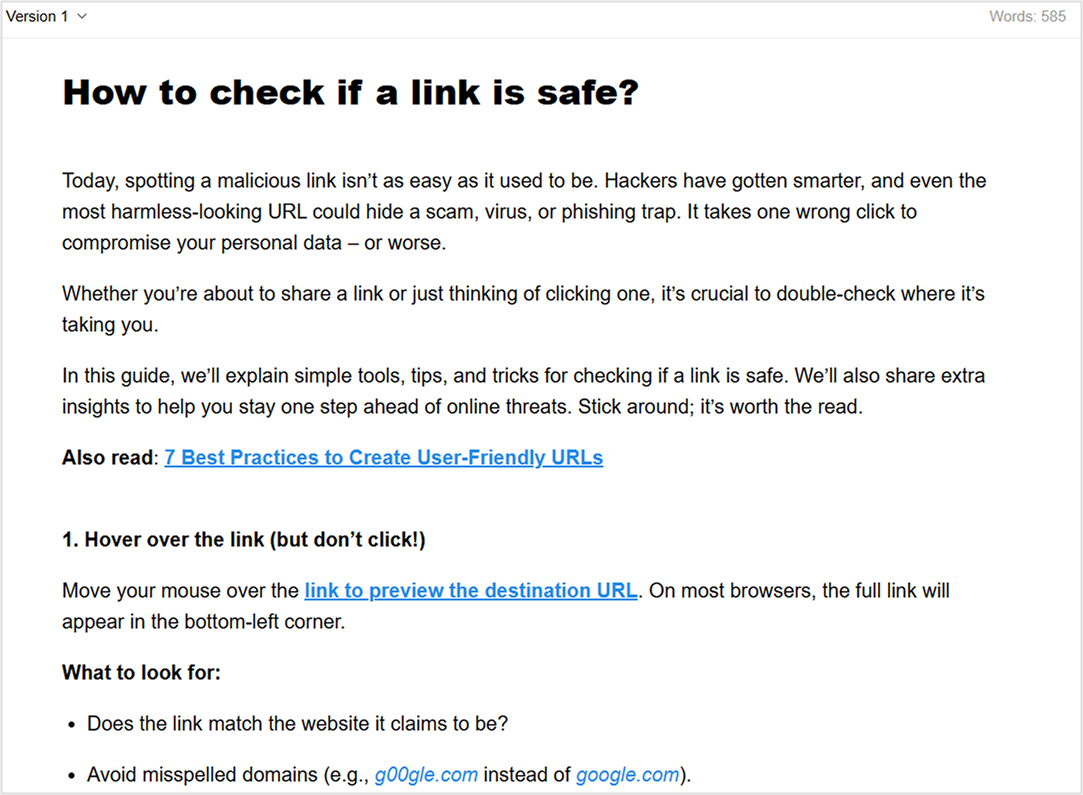
Important: Analyze the existing content
Before you start making edits, take a moment to read through the entire article. Ask yourself the following questions:
- Is the content still relevant?
- Does it have outdated information?
- Are there any broken links or missed internal linking opportunities?
- Can you add any new insights, case studies, or recent trends?
Having a clear picture of what needs updating will guide your editing process.
Step 03: Click on “Ask AI”
Once your content is added, it’s time to start the refresh process.
On the right-hand menu, you’ll see the “Ask AI” option. Click on it, and the Contentpen AI bot will appear.
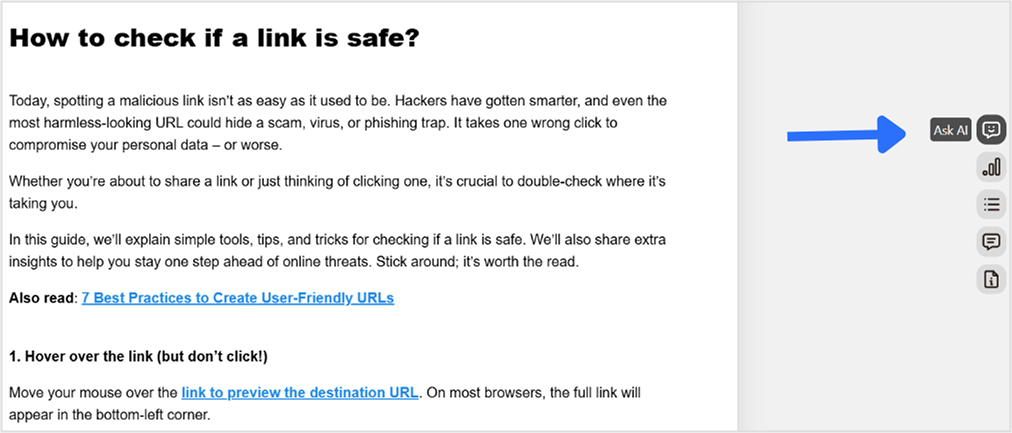
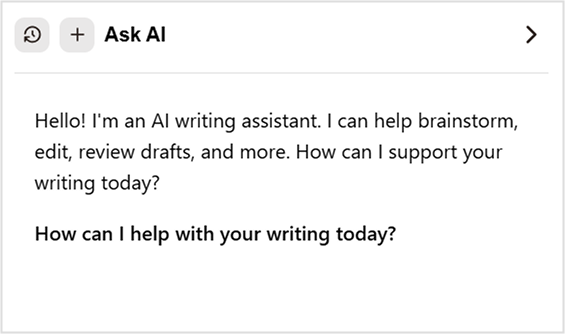
Once the bot opens up, start asking it what to do with the content in simple, plain language. Talk to it like you would to a human assistant.
Tip: Check the SEO and GEO scores in the editor as you refresh. The SEO score covers keyword optimization for your title and meta description, the GEO score shows how easily AI engines can extract and cite your content, and Fix with AI resolves issues in both in one pass.
Step 04: Give instructions to the Contentpen AI bot
You can give the AI bot specific instructions for what you want to improve. Some example prompts include:
- “Rewrite [X] section for better content flow and fluency.”
- “Adjust the tone to fit a younger audience (20–30 years old).”
- “Add a comparison table for [X] and [Y] quantities, highlighting common similarities and differences between the two.”
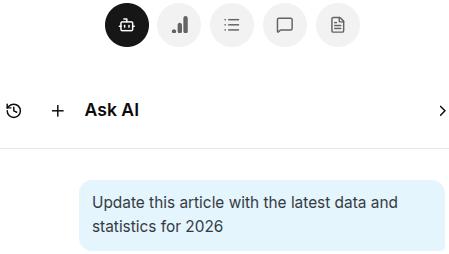
If nothing works, you can simply say: “Update this content based on the latest data and SEO trends,” and the tool will start its operation.
Bonus tip: Rewrite specific paragraphs, sentences, or change the tone for clarity. If a paragraph feels awkward or unclear, Contentpen can help rephrase it more readably.
The AI can also modify the tone of specific sections to match your brand voice, whether you want it to be more casual, formal, or persuasive.
Step 05: Enjoy your updated content
Once the AI processes your request, you’ll receive a refreshed version of your article. Review it, make any necessary manual tweaks, and you’ll be good to go.
Once you’re happy with the updates, hit the “Publish” button.
Contentpen will automatically save and publish the refreshed article to your preferred CMS platform, such as WordPress, Webflow, Shopify, Ghost, Wix, or EmDash. You can also choose to schedule the content for a later time if preferred.


What if your article is already published through Contentpen?
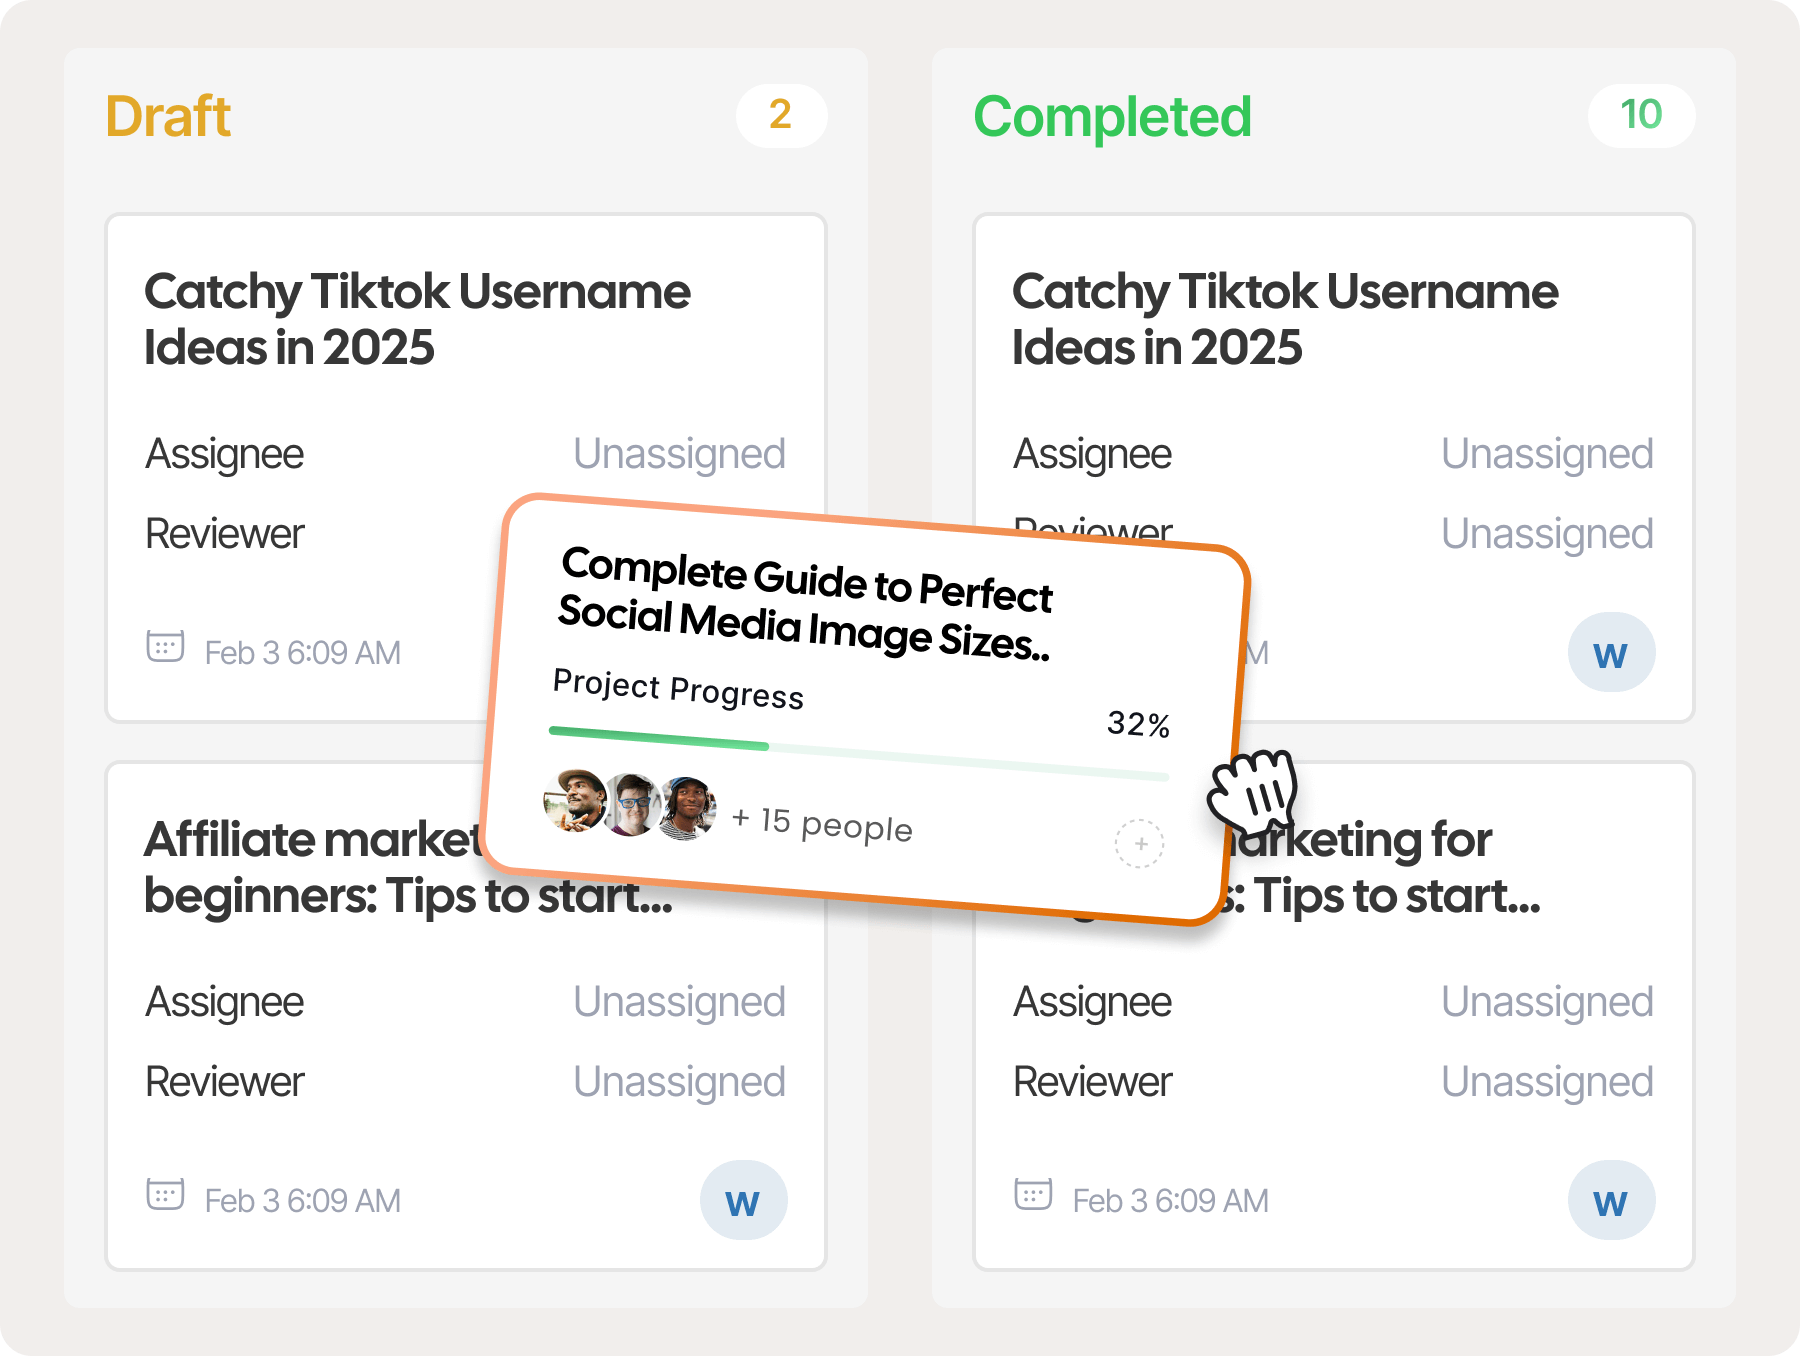
Let’s say you want to update a previously published piece in Contentpen. Here’s how you can do that with ease:
- Log in to your Contentpen account – If you haven’t already, sign in.
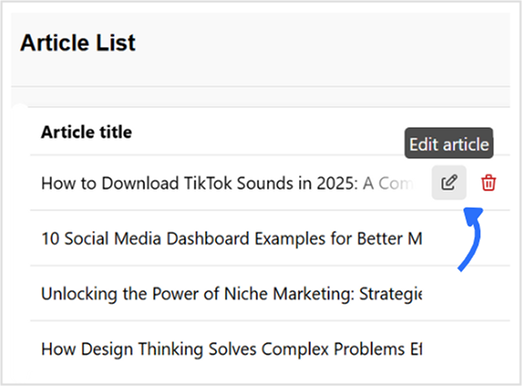
- Navigate to your dashboard – You’ll see a list of all your saved or published articles.
- Locate your article – Click the “Edit” button next to the article you want to refresh. This will open the content editor, where you can make all necessary updates.
Things to check when refreshing a published article
Once you are in the edit window, you can make a lot of changes to your already existing blog. You can:
1. Add internal and external links
Ensure your article includes valuable internal links to related posts and credible external sources to boost SEO and user engagement.
Contentpen allows you to automate internal and external links. All you have to do is select an anchor text and click the ‘Add/Edit link’ option. Once the window opens, decide which type of link you want to place.
If you click on ‘Find internal link from sitemap,’ you can establish effective internal linking by simply choosing any of the suggested options.
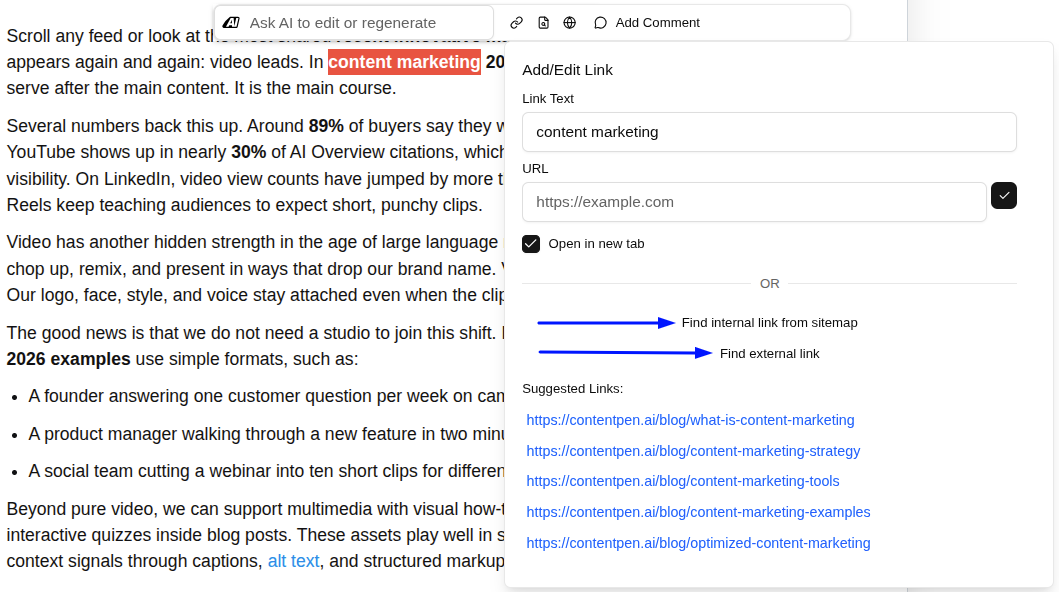
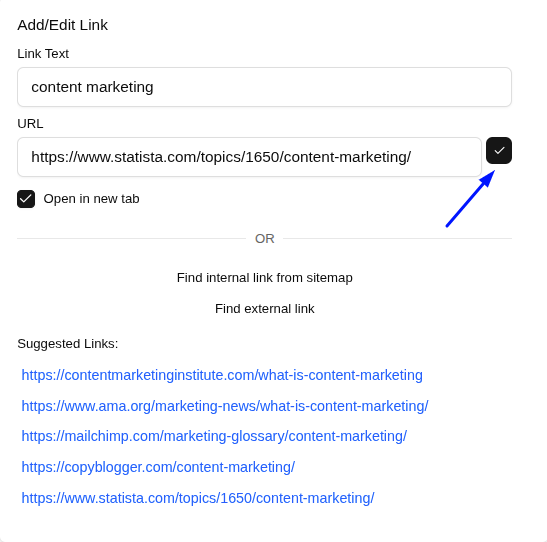
If you choose ‘Find external linking,’ the tool will scan the most credible sources online for your topic or niche and provide its suggestions. Click on the ‘tick’ icon next to the URL text field to place the link.
2. Update visuals
Refreshing your article? Don’t forget about the visuals:
- Replace outdated images with fresh ones by clicking the image and using the ‘Replace Image’ option in Contentpen.

Contentpen’s built-in media library will open up, where you can generate images with AI or browse and use any existing visuals for your content.
- You can also optimize image sizes for better load times.
- Edit alt text for SEO directly in the tool by clicking the ‘pencil’ icon.
Contentpen also allows you to easily integrate any custom-created visuals and infographics to enhance the engagement and aesthetics of the content.
3. Check your CTAs
Make sure your calls to action are still relevant to your current goals or campaigns. If that’s not the case, you can make use of the ‘Ask AI’ assistant again to polish your CTAs for better conversions.
Highlight the content you want edited, and a pop-up will appear. Here, you can see the Ask AI assistant window.
Click on the empty text field to expand some common text editing options.
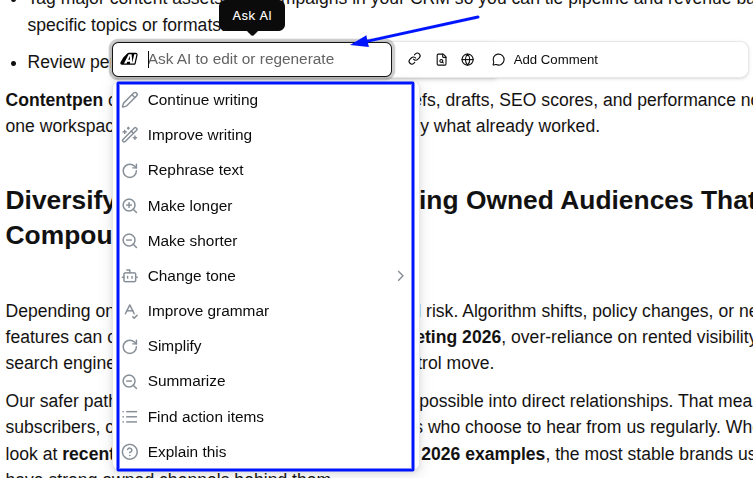
Choose any existing options to rewrite your existing CTA. For example, if we click on ‘Continue Writing’ and press Enter, the AI will start processing and show us the exact content that needs to be added to improve content flow.
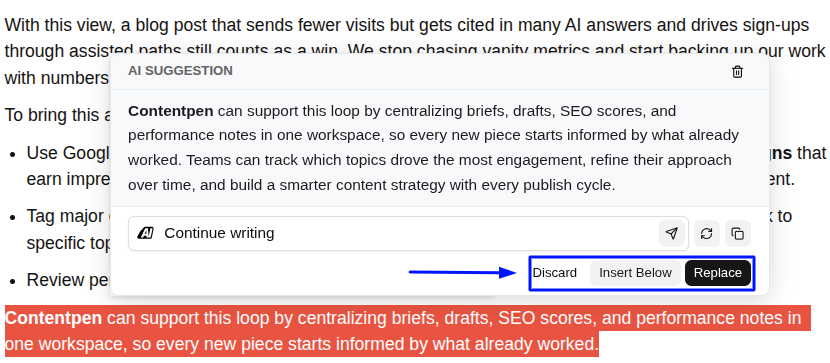
Now, you can either ‘Discard’ the AI suggestion, or you can select ‘Insert Below’ to add the new content along with the existing one. You can also ‘Replace’ to completely erase the previous version and use the recently generated CTA instead.
4. Check formatting
Ensure headings, lists, and spacing look clean and consistent.
Contentpen’s powerful text editor provides you with complete freedom to change formatting. You can modify your headings, from H1 to H4, introduce bullet points, numbered lists, and also add any tables, quotes, and code snippets you like.
5. Test links and image visibility
Click through all internal and external links and confirm all pages load properly. Check the images and their alt text before publishing the updated content again.
Final thoughts
Refreshing your existing articles with our AI SEO tool is an effective way to ensure your content remains relevant, valuable, and optimized for both search engines and readers.
By following these steps, you can quickly update your content, improve SEO and GEO, and maintain a high-quality blog. Make it a regular practice to refresh older articles, and use AI visibility tracking to see whether refreshed content starts earning more AI citations.