If you’re writing blog posts regularly, you already know how much effort goes into just getting started. It’s tedious. It’s inconsistent. And it eats up more time than the actual writing.
Now imagine you could skip all of that with one click.
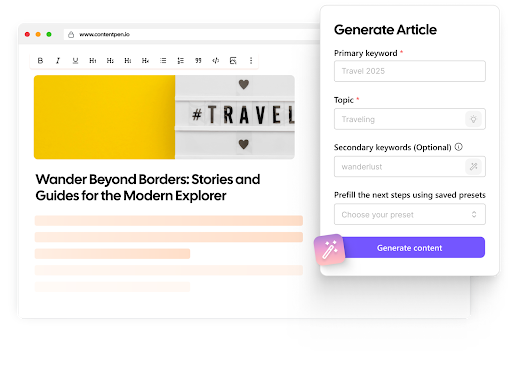
That’s what presets in Contentpen are for. They help you save your ideal article setup, including voice, structure, formatting, and linking settings, so you never have to start from scratch again.
Whether you’re blogging manually or already using our AI writer, this guide will show you how presets cut hours from your blogging workflow and help you publish faster.
So, let’s get started.
What are presets in Contentpen?
Presets are reusable content blueprints that let you predefine exactly how your articles should be written and structured inside Contentpen.
Think of them as your saved writing formula. Instead of selecting the same tone, adjusting formatting, picking section types, or setting up internal links every time, you define it once and apply it instantly to any new article.
Each preset includes the following 5 options and subcategories:
#1: Style:
- Language and target country
- Tone of voice
- Target audience and POV (point of view)
#2: Formatting:
- Preferred formatting (bold, italics, tables, quotes, and lists)
- Heading letter case
#3: Structure:
- Article size
- Introduction style
- Extra sections (key takeaways, conclusion, and FAQs)
#4: Media:
- Featured image styles
- In-article image styles
#5: Linking:
- Internal linking rules using your sitemap
- External linking preferences (include or exclude specific domains)
Once set, you or your team can apply a preset with a single click, so every blog starts with your exact preferences already in place.
Why Contentpen presets matter for your blogging workflow
If you’re still doing everything manually and trying to keep every post consistent, you’re spending hours on tasks that can be automated.
Contentpen presets eliminate that friction. The feature turns your best practices into repeatable systems. Here’s how:
- Save time: Stop redoing the same setup for every article.
- Ensure consistency: Every article follows the same tone, structure, and standards, whether you or a team member writes it.
- Scale without stress: As your content volume grows, presets make it easy to maintain quality at speed.
- Reduce manual errors: Never forget a formatting rule, section type, or linking guideline again.
- Reclaim your creative energy: With the busywork handled, you can focus on your content strategy.
This is the feature that makes switching from legacy tools to Contentpen worth it.
Write content that’s built to rank, not just read
Create search-optimized blogs aligned with SEO and GEO signals, so your content performs well across search and AI-driven discovery.
Try SEO Blogging FREE →
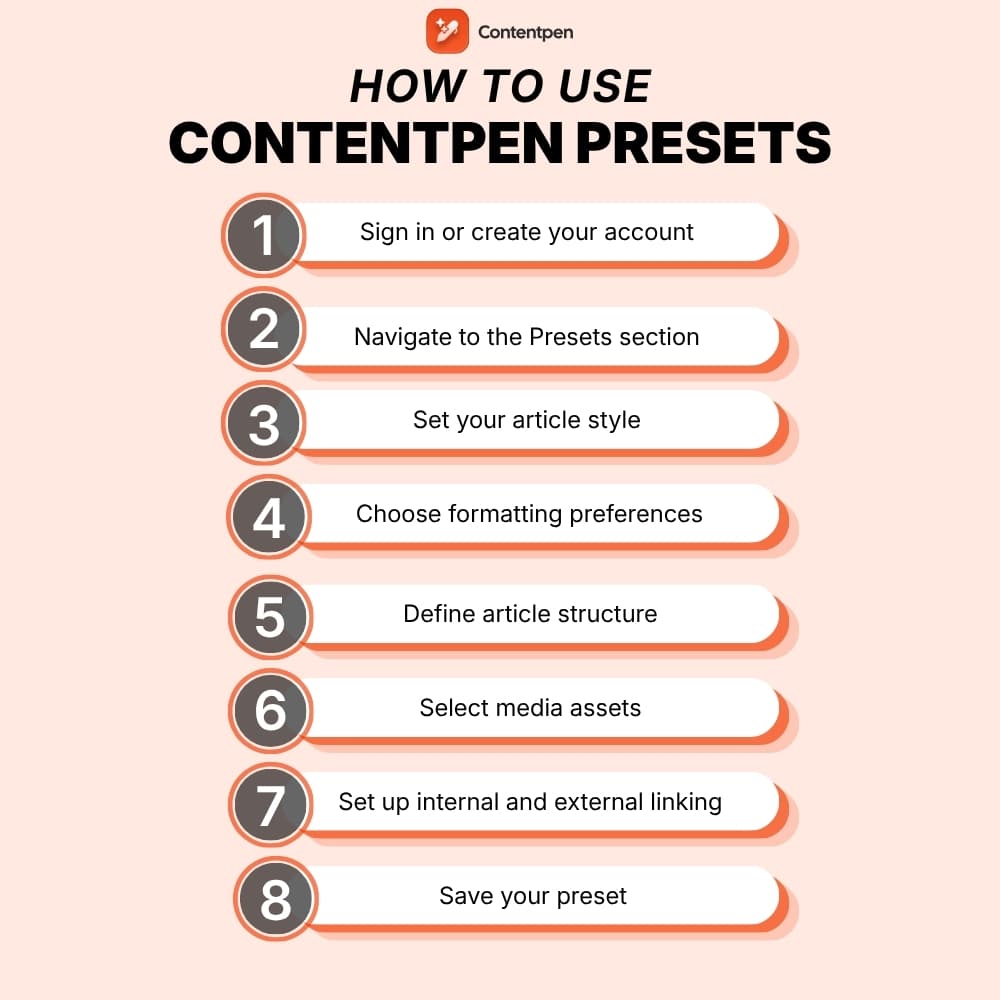
How to use Contentpen presets: 8 simple steps
Follow these easy steps to create a content preset inside Contentpen that fits your writing style, structure, and content goals.
1. Sign in or create your account
To get started, log in to your Contentpen account.
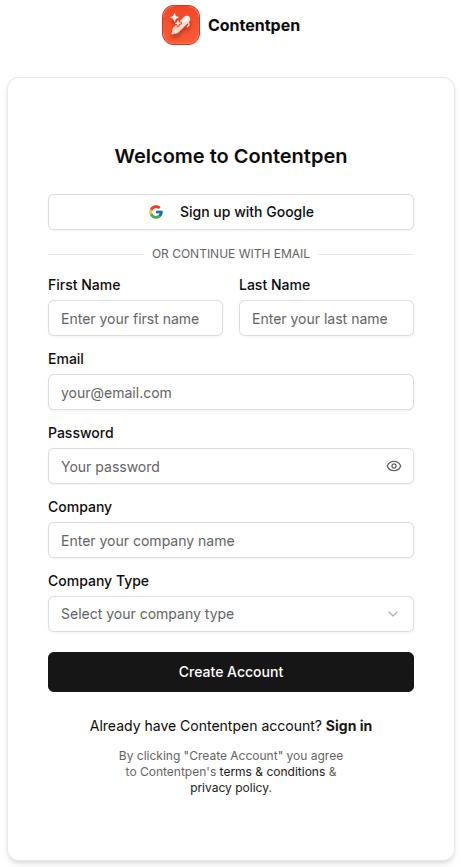
If you’re new, sign up and start your free 7-day trial. Presets are available to all users and can be created as soon as you access your Contentpen workspace.
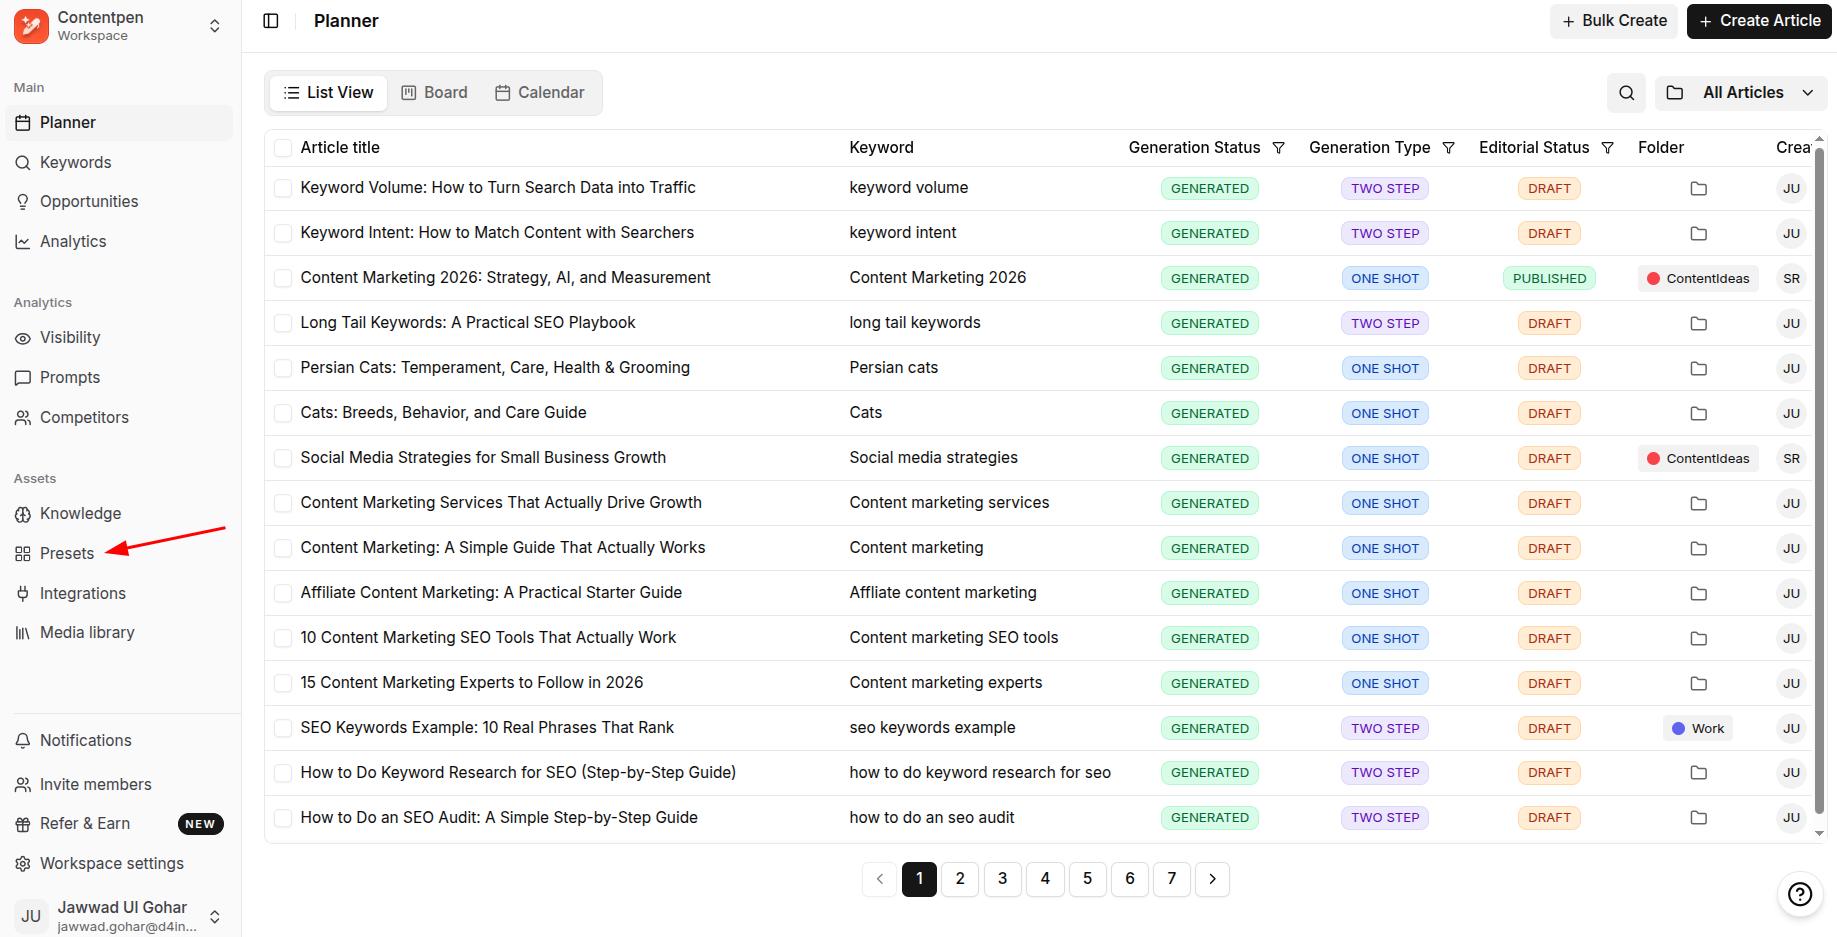
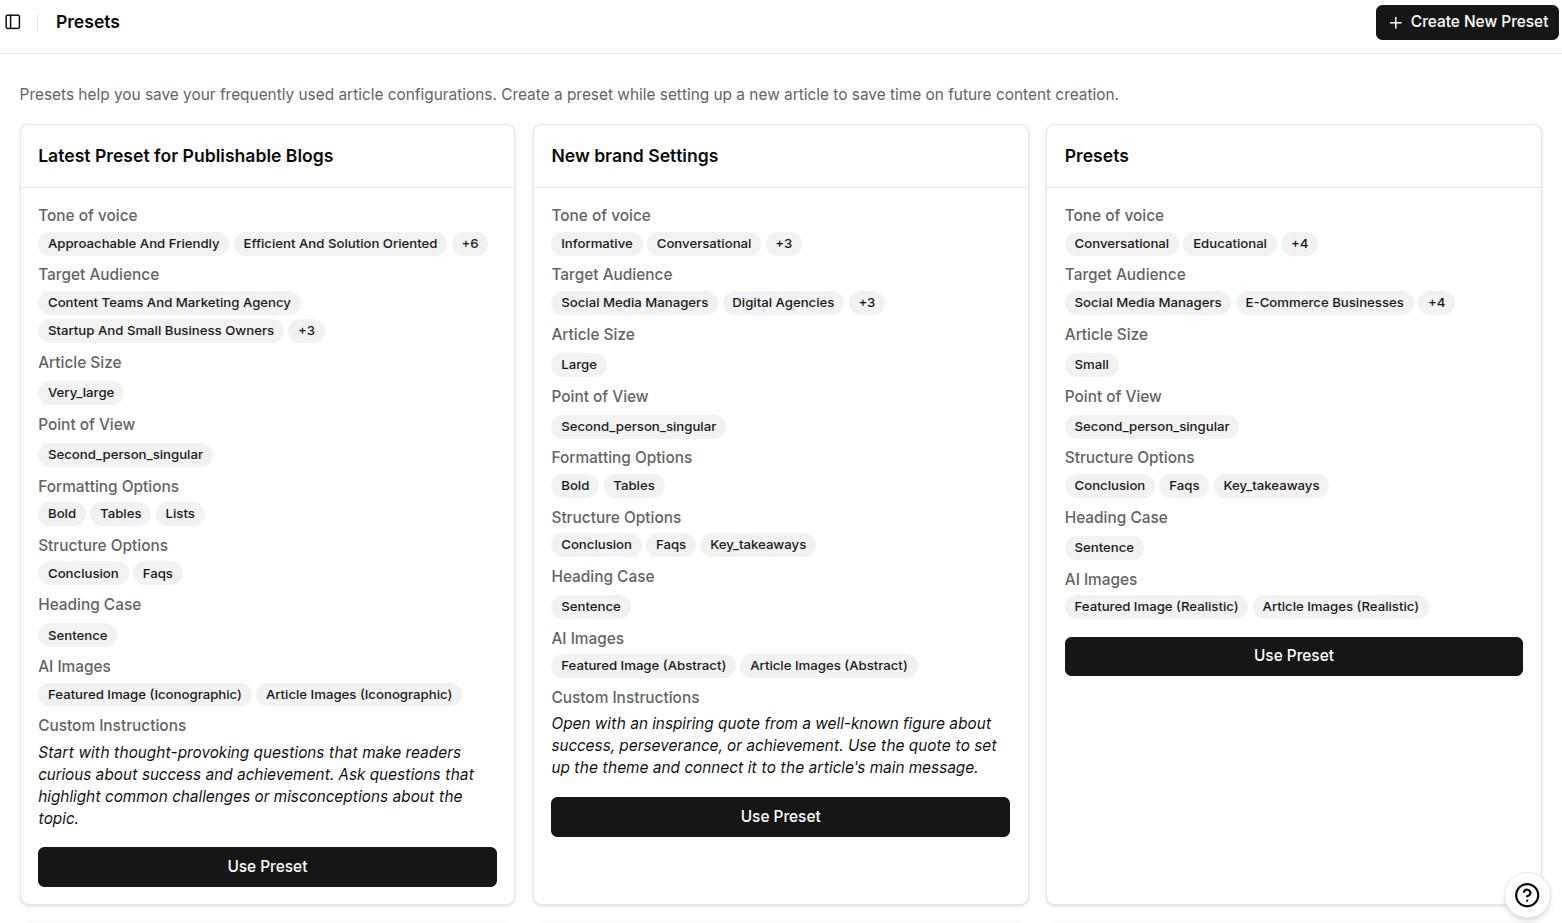
Once you are in the main dashboard, go to Presets.
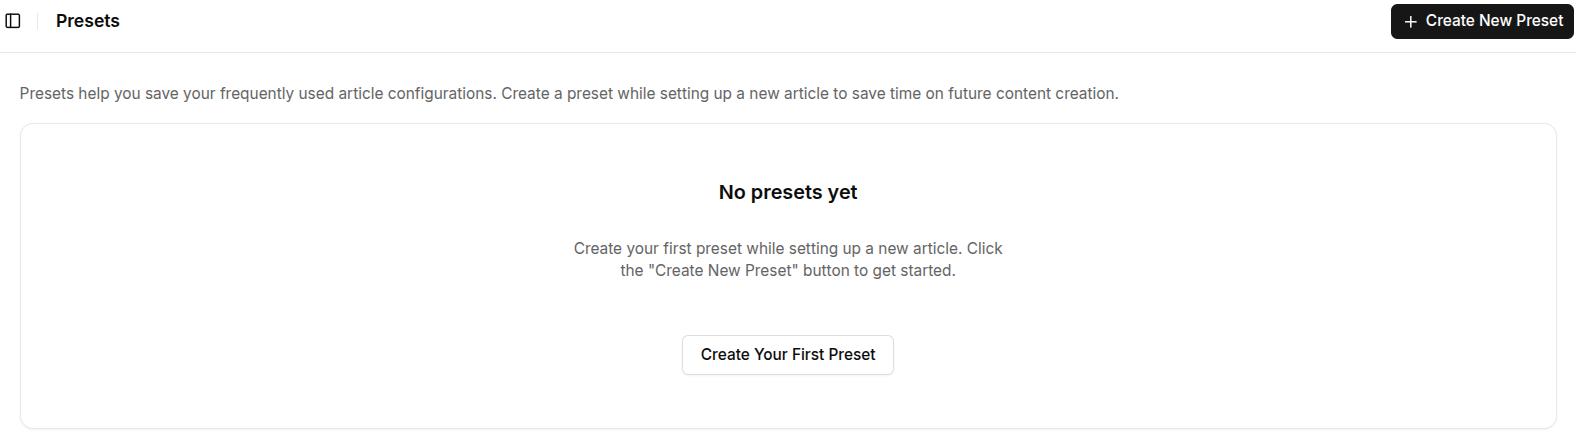
2. Create a new content preset
Click Create New Preset to begin setting yours up.
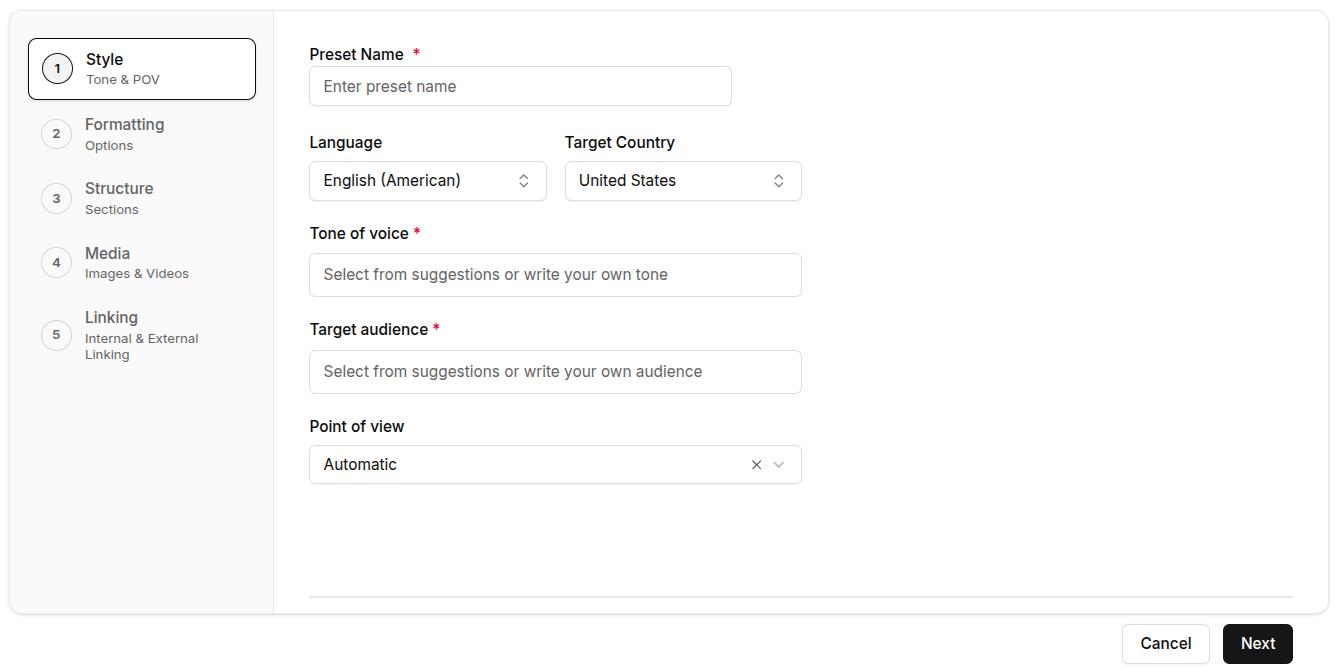
3. Set your article style
In this step, you’ll define how your content should sound, the tone, audience, and point of view. These settings help ensure that every article reflects your brand voice and connects with the right readers.
- Preset name: Enter a preset name that you can easily remember and refer to later on.
- Language and target country: Contentpen now supports more than 50 global languages. After selecting a language, choose your target country (this option is set to the United States by default).
- Tone of voice: Choose from predefined options like professional, conversational, formal, authoritative, educational, casual, and others.
- Target audience: Select the type of reader you’re writing for, such as marketers, founders, agency owners, startups, enterprises, etc.
- Point of view: Choose first person singular (I/me/my), first person plural (We/us/our), second singular (You/your), or second person plural (You all/your). You can also let this option be on ‘Automatic’ to let Contentpen decide your POV automatically.
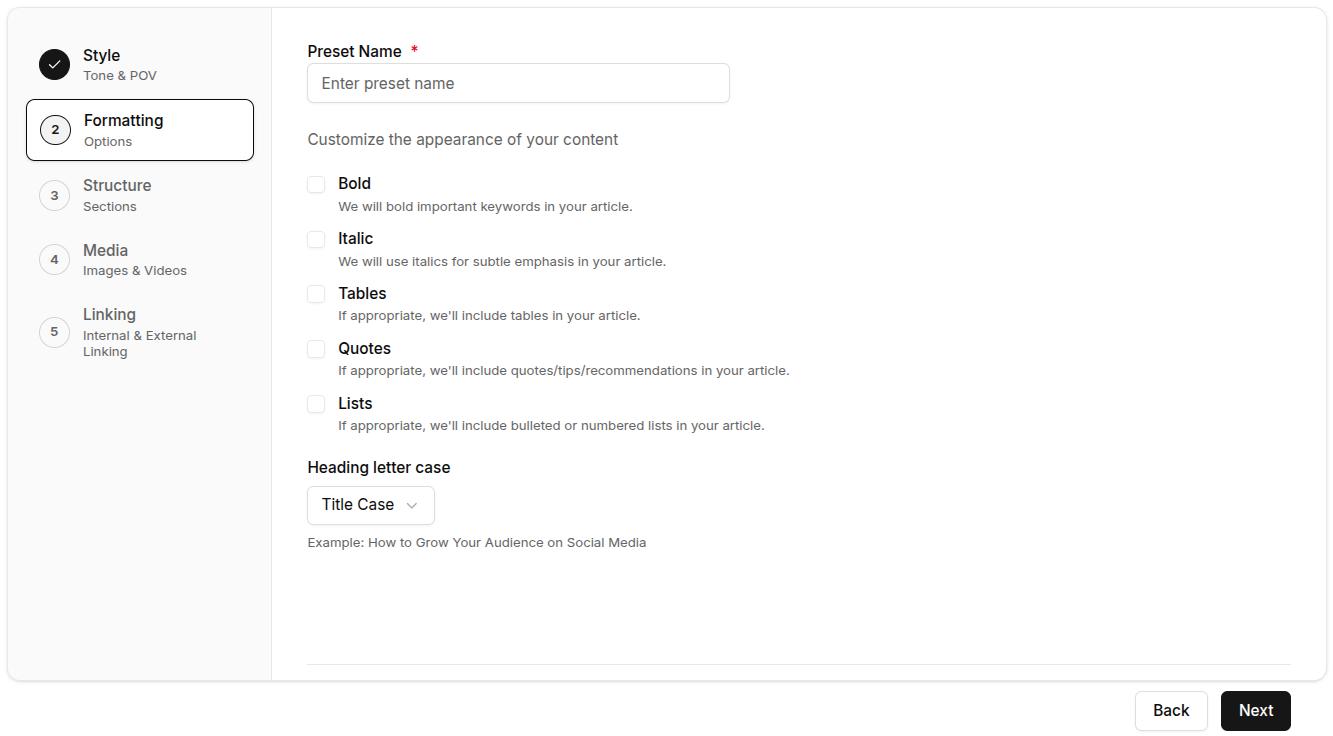
4. Choose formatting preferences
Next, decide how your content should appear visually. These formatting rules help standardize your content and reduce post-editing work.
Toggle on or off the following elements:
- Bold: Automatically bold key phrases for emphasis
- Italic: Subtly change the appearance of certain ideas
- Tables: Display structured data clearly
- Quotes: Include callouts or tips
- Lists: Use bullet points or numbers where needed
You can also choose your heading capitalization: Title Case, sentence case, lowercase, or unchanged (recommended for non-English users).
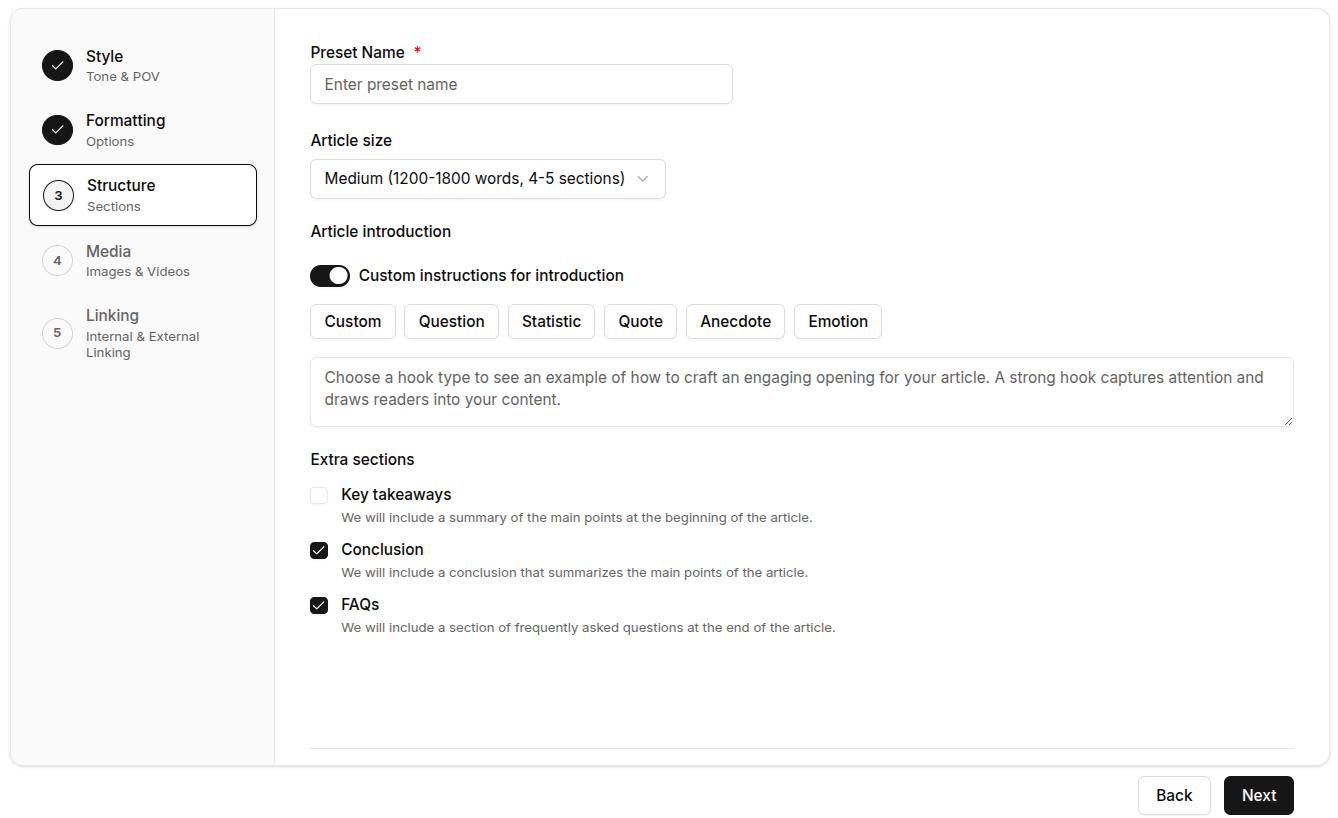
5. Define article structure
Now, outline how your blogs should be built, from length to extra sections and intro hooks.
Article size: Select from:
- Small (800-1200 words, 3–4 sections)
- Medium (1200–1800 words, 4–5 sections)
- Large (1800–2500 words, 5–7 sections)
- Very Large (2500–3500 words, 7–10 sections)
Custom introduction (optional): Choose how your articles should begin. Click on this slider to reveal options, including:
- Custom
- Question
- Statistic
- Quote
- Anecdote
- Emotional opener
Optional sections: Enable or disable these:
- Key Takeaways (blog summary at the top)
- Conclusion
- FAQs
6. Select media assets
On this step, choose the type of images you want generated for your blog. You can select from the following options:
- 1 featured image
- 3 – 4 high-quality in-article images
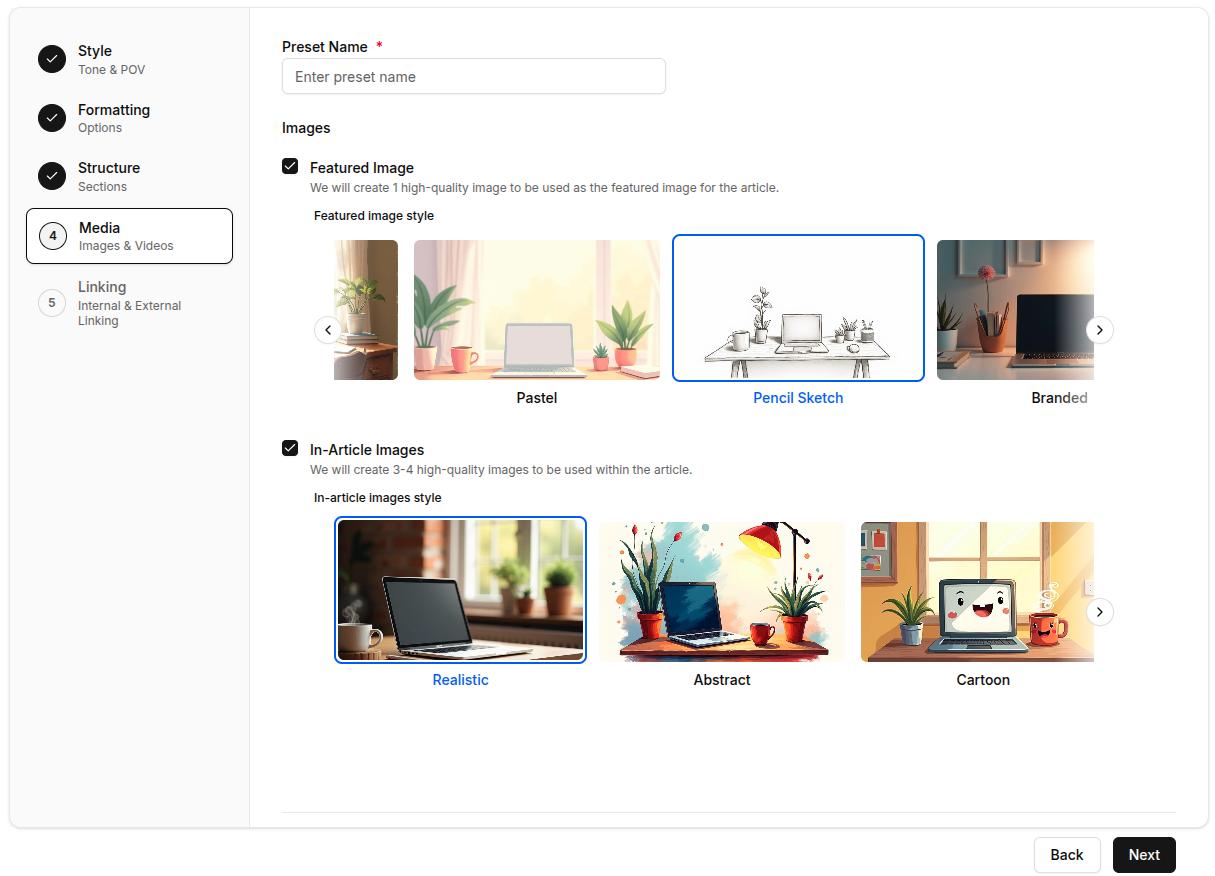
You can create images in 12 different styles: Realistic, Abstract, Cartoon, Flat Design, Iconographic, Minimalist, Oil Painting, Pastel, Pencil Sketch, Branded, Vintage, and Watercolor.
This ensures every article is pre-structured the way you want and visually appealing to enhance audience engagement.
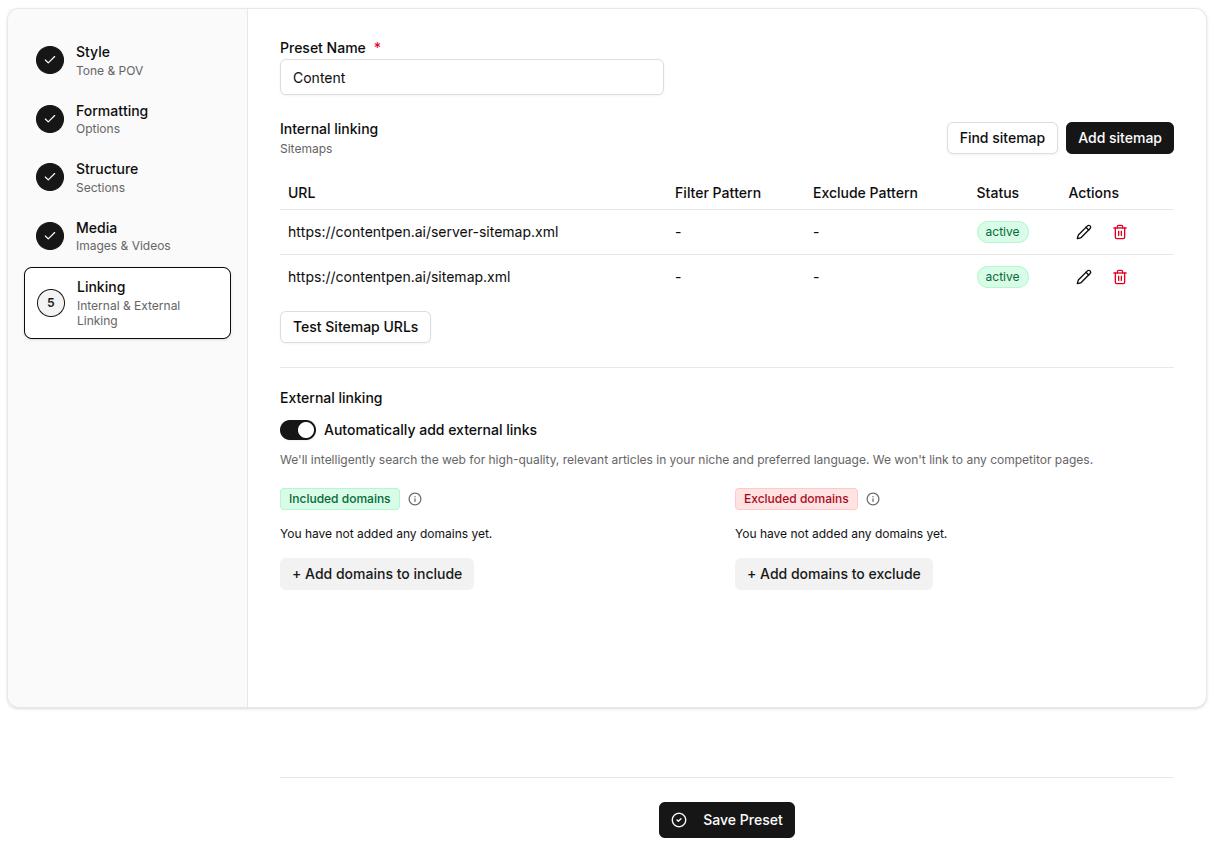
7. Set up internal and external linking
Good linking boosts SEO and increases dwell time for your platforms. Here’s how you can automate it inside your content preset:
Internal linking:
- Add/Find Sitemap: Manually paste your sitemap URL or use the ‘Find Sitemap’ feature to let Contentpen discover your website links.
- Edit Sitemap: Click the pencil icon next to your added sitemap to edit it. Include only blog pages (e.g., /blog/*) and exclude non-content paths (e.g., /admin/). Then enable ‘Automatically crawl and add links to knowledge base’ and click update.
- Test Sitemap URLs: Once you’re done adding the sitemap, you can click the ‘Test Sitemap’ button to verify it.
Also read: How to add a sitemap in Contentpen?
External linking:
- Auto-linking toggle: Automatically add external links to trusted sources in your niche.
- Included domains: Whitelist reliable sources you’d like linked in articles.
- Excluded domains: Prevent links to competitors or irrelevant sites by adding their domains in the excluded section.
8. Save your preset
Once everything is configured, click Save Preset.
It will now appear in your Presets list and can be instantly applied to any future article, so your content creation starts with all the right settings, every time.
Final thoughts
Presets in Contentpen aren’t just a convenience; they’re a content creation advantage. By eliminating repetitive setup tasks, ensuring brand consistency, and speeding up your workflow, presets help you publish more high-quality content in less time.
Content presets take the guesswork out of every new article, so you can write with focus and publish with confidence. This feature makes our tool useful for freelancers looking to streamline their process or agencies aiming for scale.
Write better blogs in less time, without sacrificing quality.
Let AI handle structure, clarity, and flow while you stay in control of the message.
Try AI blog writing →