 12 minutes
Staring at a blank “about me” page and typing “Hi, I’m [name]” is the fastest way to write a blog about yourself that nobody finishes reading.
The real problem usually isn’t a lack of things to say. It’s not knowing which details matter to a stranger scrolling through your site for the first time.
Writing about yourself feels harder than almost any other blog post because it asks for honest self-reflection and a clear strategy at the same time.
The way to start writing a blog about yourself without sounding boring is to lead with what your reader expects from you. Then, let your personal details support that value instead of replacing it.
This article walks through that process step by step, from defining your value and audience to writing your origin story, structuring the blog, and adding a call to action that keeps readers coming back. By the end, you’ll have a working framework instead of a blinking cursor.
Table of contents
- Key takeaways
- What does it mean to write a blog about yourself?
- How to write a blog about yourself step by step
- How should you structure and format your about-yourself content?
- How do you keep your story authentic and evolving?
- How Contentpen helps you write about yourself faster
- Summing it up
- Frequently asked questions
Key takeaways
- Lead with the value you offer readers before you get into your personal history.
- Name your target audience directly so the right readers feel like they’ve found their place.
- Connect your personal story to your blog’s purpose instead of listing random facts.
- Close with a clear call to action and keep photos to two or three at most.
- Revisit your blog as your focus and life keep changing.
What does it mean to write a blog about yourself?
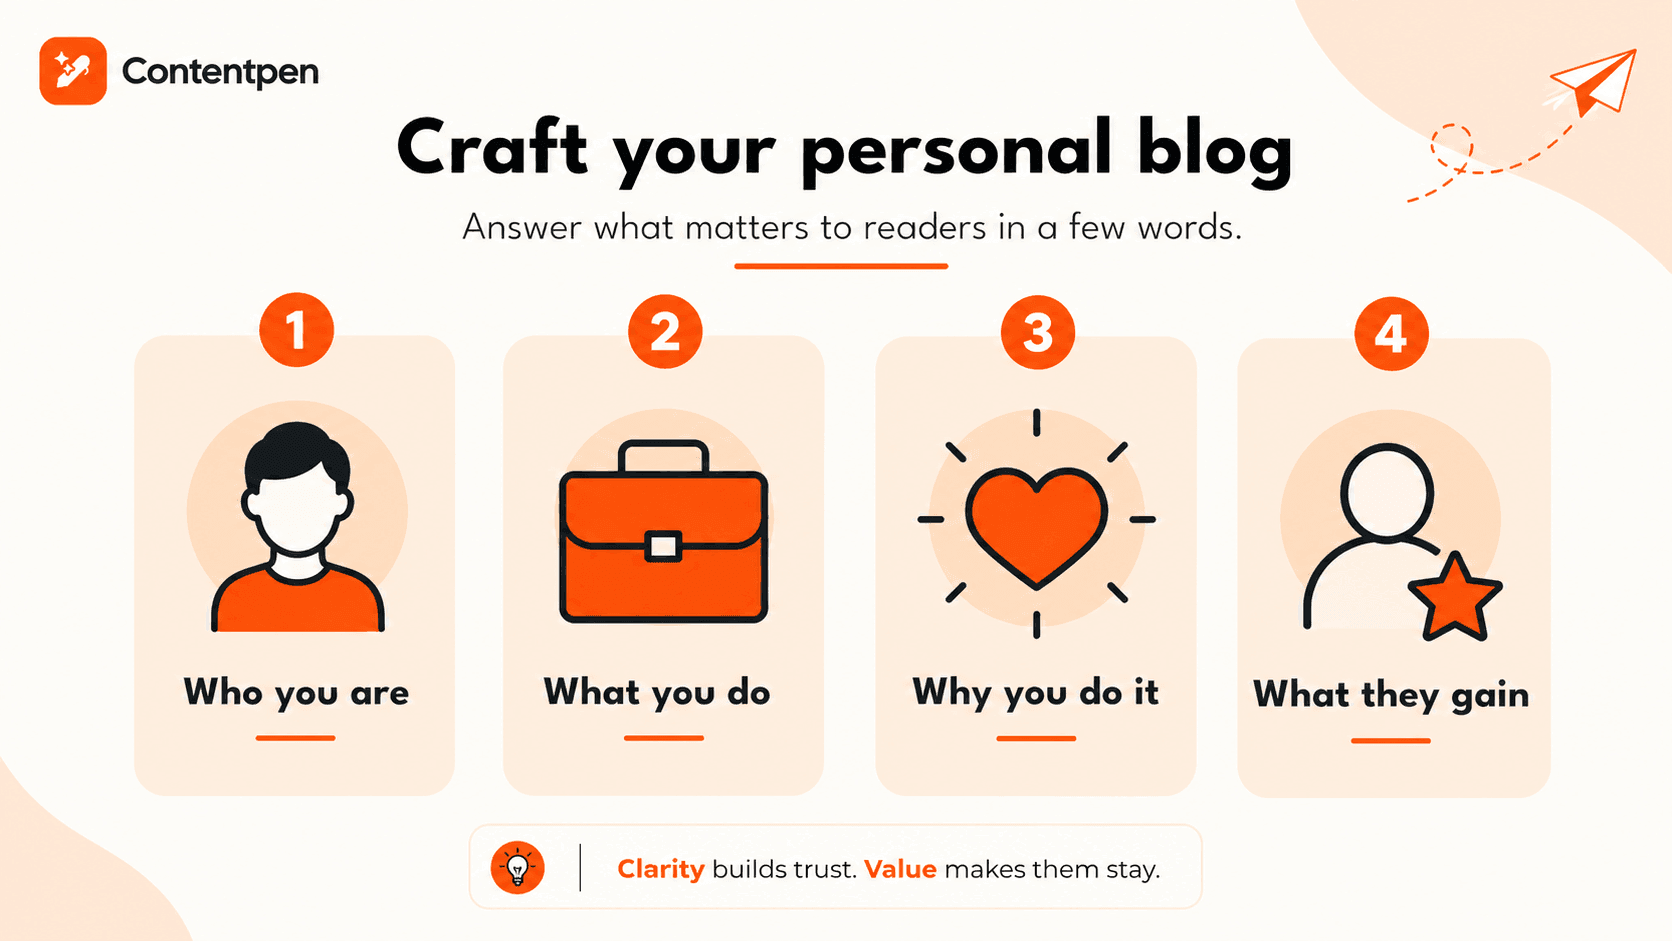
Writing a blog about yourself means answering four questions for a stranger in as few words as possible:
- Who you are
- What you do
- Why you do it
- What they gain by sticking around
It has nothing to do with cataloging your entire life story in order, and everything to do with giving a reader a reason to trust you and keep reading.
Whether you’re drafting a dedicated about-me page using a proven step-by-step framework, a two-line bio for a guest post, or a full personal narrative, the same expectation applies.
Readers arrive curious about you, but they stay because they see something useful for themselves.
This holds true across formats. A short bio needs the same clarity as a full about-me page, just condensed into two or three sentences instead of several paragraphs.
A personal blog post about a career change or a big life event still has to explain why it matters to the reader, not just to you. Once that idea settles in, the rest of the writing gets a lot easier.
How to write a blog about yourself step by step
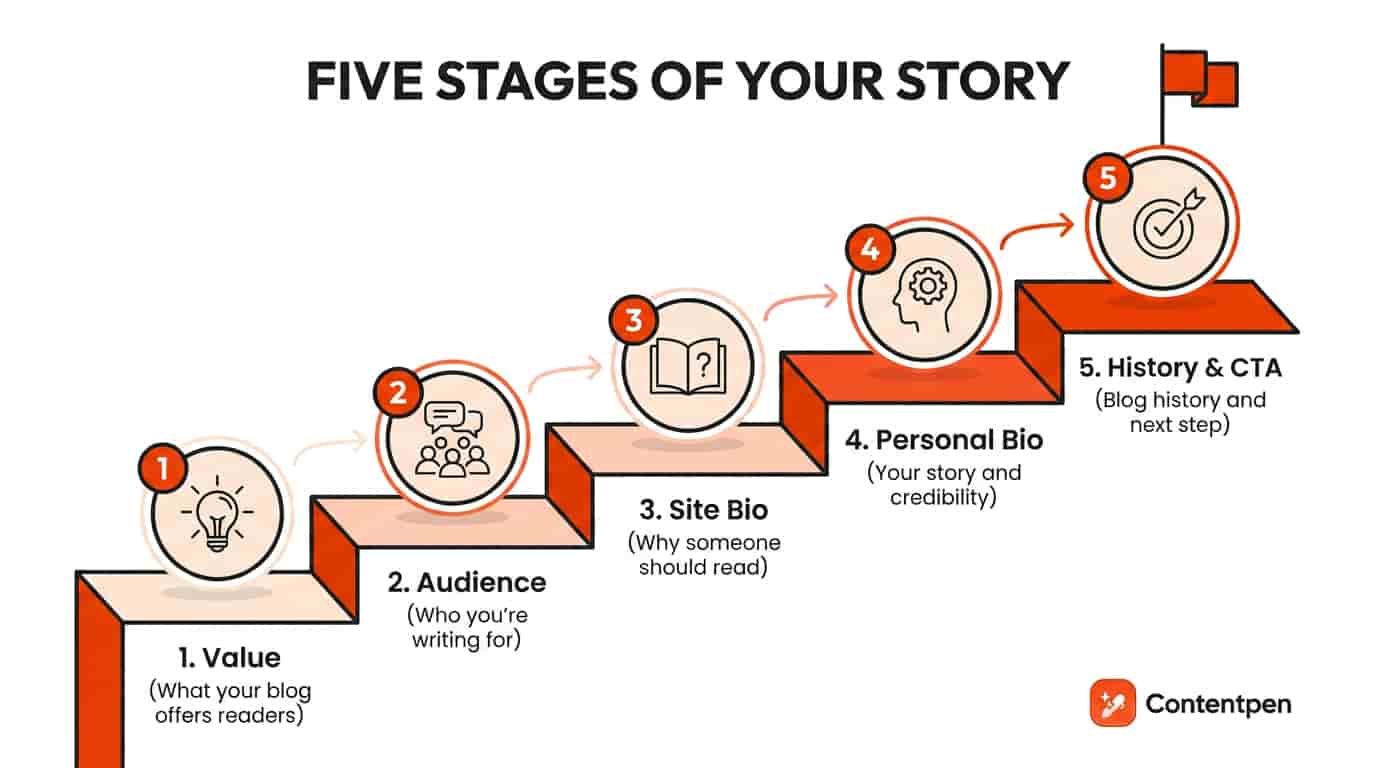
Learning how to write a blog about yourself step by step means breaking the task into stages instead of trying to draft your whole story in one sitting. Each stage builds on the one before it, moving from strategy into storytelling and ending with a clear next step for the reader.
The five stages below cover what a strong about-yourself page or post needs from start to finish:
- Value: what your blog offers readers
- Audience: who you’re writing for
- Site bio: why someone should read your blog
- Personal bio: your story and credibility
- History and CTA: Blog history and a call to action
Now let’s discuss them in further detail.
#1: Start with the value you give your readers
Before writing about yourself, get clear on the value your blog gives readers: what makes it useful, who it serves, and what problem or experience it offers.
Skip the generic opener like “Hi, I’m Sam, and I love coffee and travel.” Instead, introduce your name and then instantly frame your next lines around the benefit readers get from following you.
For example, “Hi, I’m Priya, and I help people plan a week-long trip on a normal paycheck, without draining their savings or spending a year stockpiling airline points to afford it.”
#2: Define who your blog is for
Naming your audience directly, rather than trying to appeal to everyone, makes your writing land harder with the people who actually matter.
A line like “if you’re a busy parent trying to cook faster dinners, you’re in the right place” filters visitors instantly. Losing readers who aren’t a fit is a fair trade for a stronger connection with the ones who are.
#3: Write your site bio before your personal bio
Before you write about yourself, write a short site bio that answers why someone should read your blog, what they’ll gain, and what kind of posts to expect.
Mention any signature series or top posts so new visitors know where to start reading. Then briefly explain your background, whether that’s years of experience, media features, or honest “still learning” transparency.
Take Hailee Catalano’s site bio as an example:
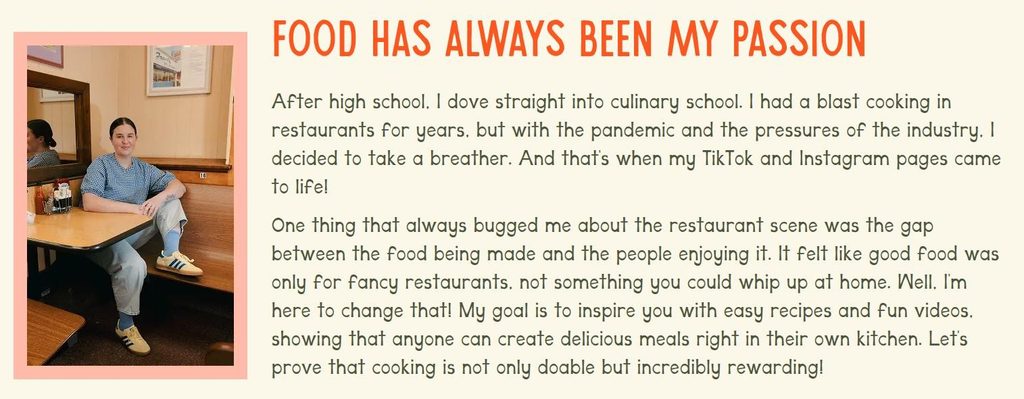
Credits: Hailee Catalano.
She started with a brief background, degree, then dove deep into what she’s doing differently than others (value).
In her case, her mission is to provide recipes that readers can follow to make delicious food right in their own kitchen, instead of chasing it in 5-star restaurants.
#4: Write your personal bio and origin story
Treat this part like an interview, connecting personal facts to your blog’s mission rather than listing unrelated trivia.
If you’re writing a short bio, keep it to a few sentences: who you are, what you do, and one credibility marker.
A longer biography or personal essay about yourself should open with a specific moment or turning point in your life. This forms a strong hook that you can use to engage the audience from the get-go.
Share the formative experience that shaped your expertise, along with details that show why you’re qualified to write about your topic.
A career pivot or years of self-taught practice all count as credibility, even without formal degrees.
Real pages rarely open with a job title. Michelle Knight’s leads with her brother’s death as the moment that changed her direction. It opens up with one concrete scene, and connects that scene forward to what the person does now.
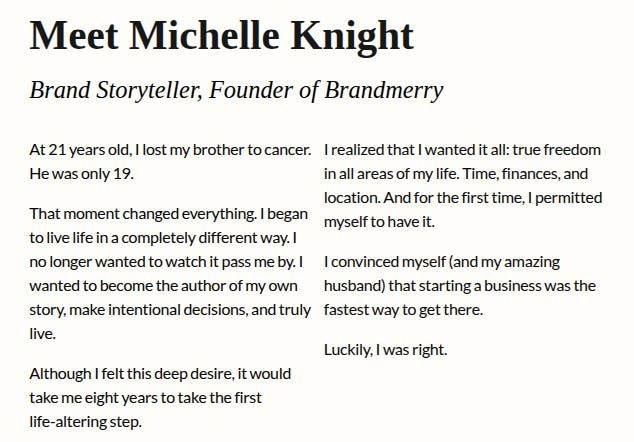
Credits: Brandmerry.
Sprinkle in relatable touches like your city or hobbies to add personality to the story, but keep them in support of the narrative rather than the whole point of it.
#5: Add your blog’s history and a call to action
Round out your personal story with a short note on when and why your blog started and where it’s headed next.
Then close with a clear call to action: a newsletter sign-up, links to your top posts, social profiles like Instagram or Pinterest, or a service page.
Place that call to action in more than one spot on the page, since most readers skim instead of reading start to finish.
Melyssa Griffin’s page puts this into practice directly. One CTA is woven into the text near the top, then a second, visual CTA at the very bottom, because she knows most people skim rather than read start to finish.

Credits: Melyssa Griffin.
Other bloggers tie the ask even closer to the story itself, closing with something like “I was once where you are, here’s how I got out →” rather than a generic subscribe button.
How should you structure and format your about-yourself content?
Structuring an about-yourself page properly means giving readers a predictable flow: a quick intro, your story, blog history, and a closing call to action. This is to help people find what they need without too much digging.
Formatting a blog post matters just as much as the words themselves, since a wall of text about your life is just as easy to abandon as a boring bio.
The two sections below cover a page order you can copy directly, plus simple guidance on photos.
Recommended page structure
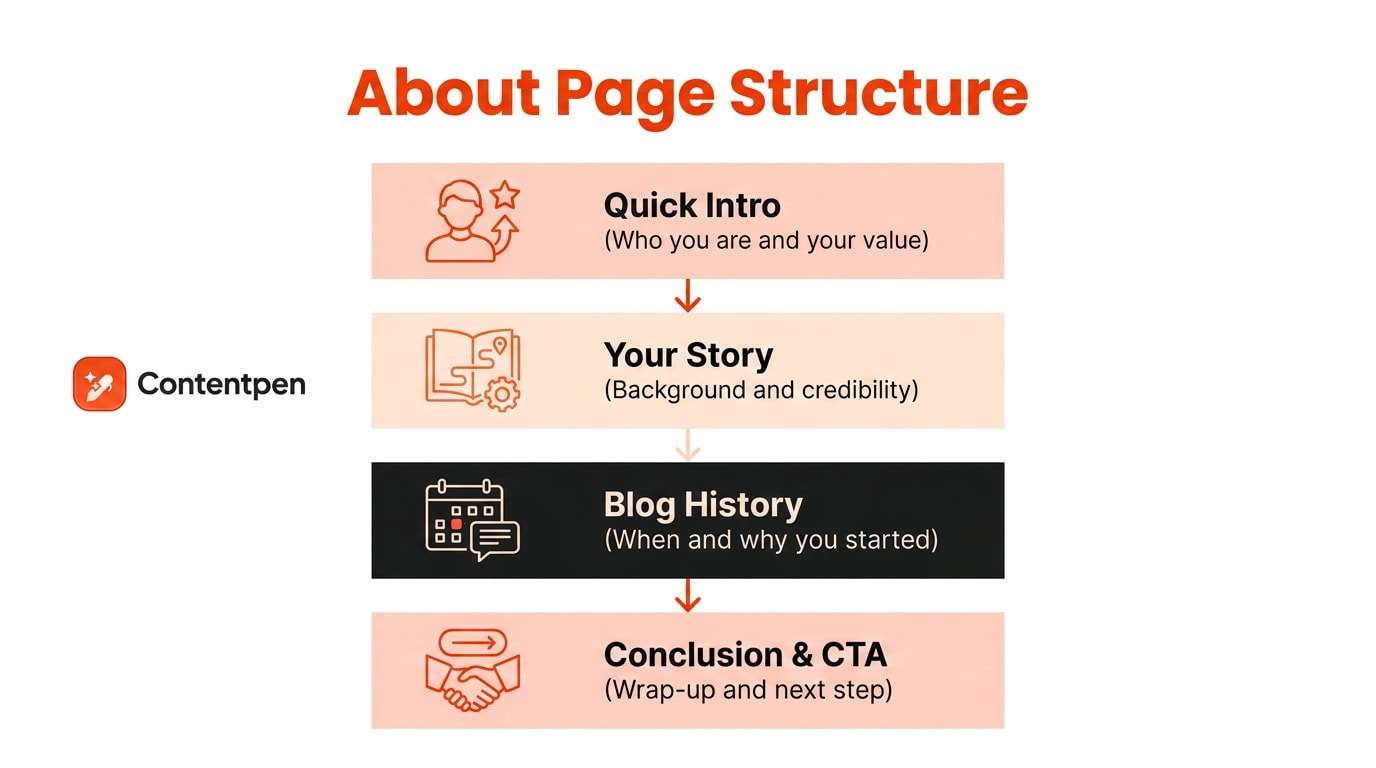
A clear structure keeps readers oriented from the opening line to the closing call to action, and it works whether you’re building a full about-me page or writing one personal blog post.
| Section | What it covers |
| Quick intro | Who you are and the value of your content, stated in a sentence or two |
| Your story | Personal background, credibility, and experience tied to your niche |
| Blog or business history | When and why you started, plus where things are headed |
| Conclusion and CTA | A short wrap-up and a clear next step for the reader |
Please note that this structure should serve as a starting point for you. It is not a hard-and-fast rule, so you can modify it according to your site type, niche, and audience.
Choosing photos that support your story
Photos should support your written story, not distract from it, so stick to two or three images at most for a blog post about yourself.
Use one clear headshot and one or two shots relevant to your niche, a workspace photo for a business blog, or a trail photo for an outdoor one. This is a pairing recommended in artist-focused advice on writing an about-me page.
Keep every image cohesive with your blog’s overall look instead of dropping in random personal snapshots.
Let’s take an example of Katy Galbraith’s photo, where she is at work in her ceramics studio:

Credit: Katy Galbraith.
This photo does two things at once: it puts a face to the name, and it shows the craft in progress. So a first-time visitor gets “who” and “what you do” in a single image without any lengthy explainers needed.
How do you keep your story authentic and evolving?
Keeping your story authentic over time means treating your about-yourself content as a page you revisit, not a task you finish once.
As your blog grows, your focus can shift from one niche to another. Or, your life can change, following a career pivot, a big move, or an extended break.
Your page should reflect those changes in your life instead of freezing you as the person you were when you started.
Some bloggers even publish an entire post dedicated to reintroducing themselves after some time away.
Attorney Matthew J. Booth’s return post doesn’t dress up the gap. He names the reason plainly, then pivots into what’s different now: a shift toward more conversational writing on the topics he actually wants to cover.
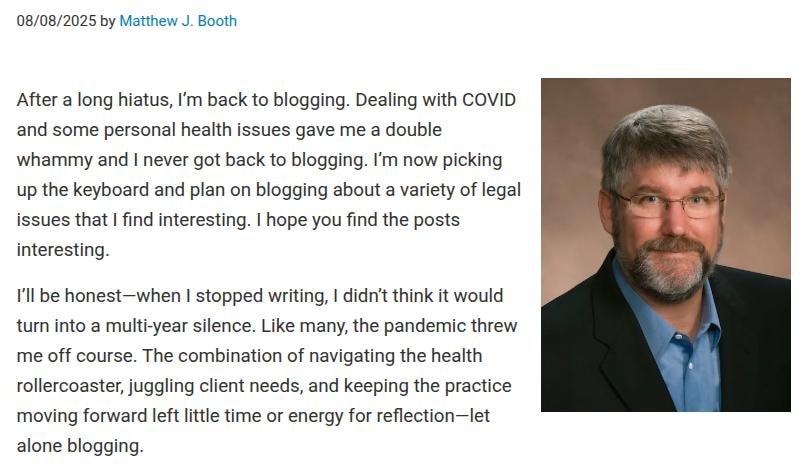
Credits: BoothLaw.
Being open about pivots, hiatuses, or setbacks tends to build more trust than a polished, conflict-free version of events.
Explaining why you stepped back, what changed, and where you’re headed next gives long-time readers a reason to stay invested. A short yearly check of your about page keeps it honest and current.
How Contentpen helps you write about yourself faster
Turning this framework into a finished page is often the hardest part, which is where Contentpen fits in.
It is an AI blog creation platform built around a five-step workflow: planning, writing, optimizing, refining, and publishing, all done automatically for you.
The tool takes a personal story from a rough brief to a structured, publish-ready draft in minutes, saving ample time and resources for you.

From outline to publish-ready content that fills them

Structured
Consistent
SEO-aligned
Fast
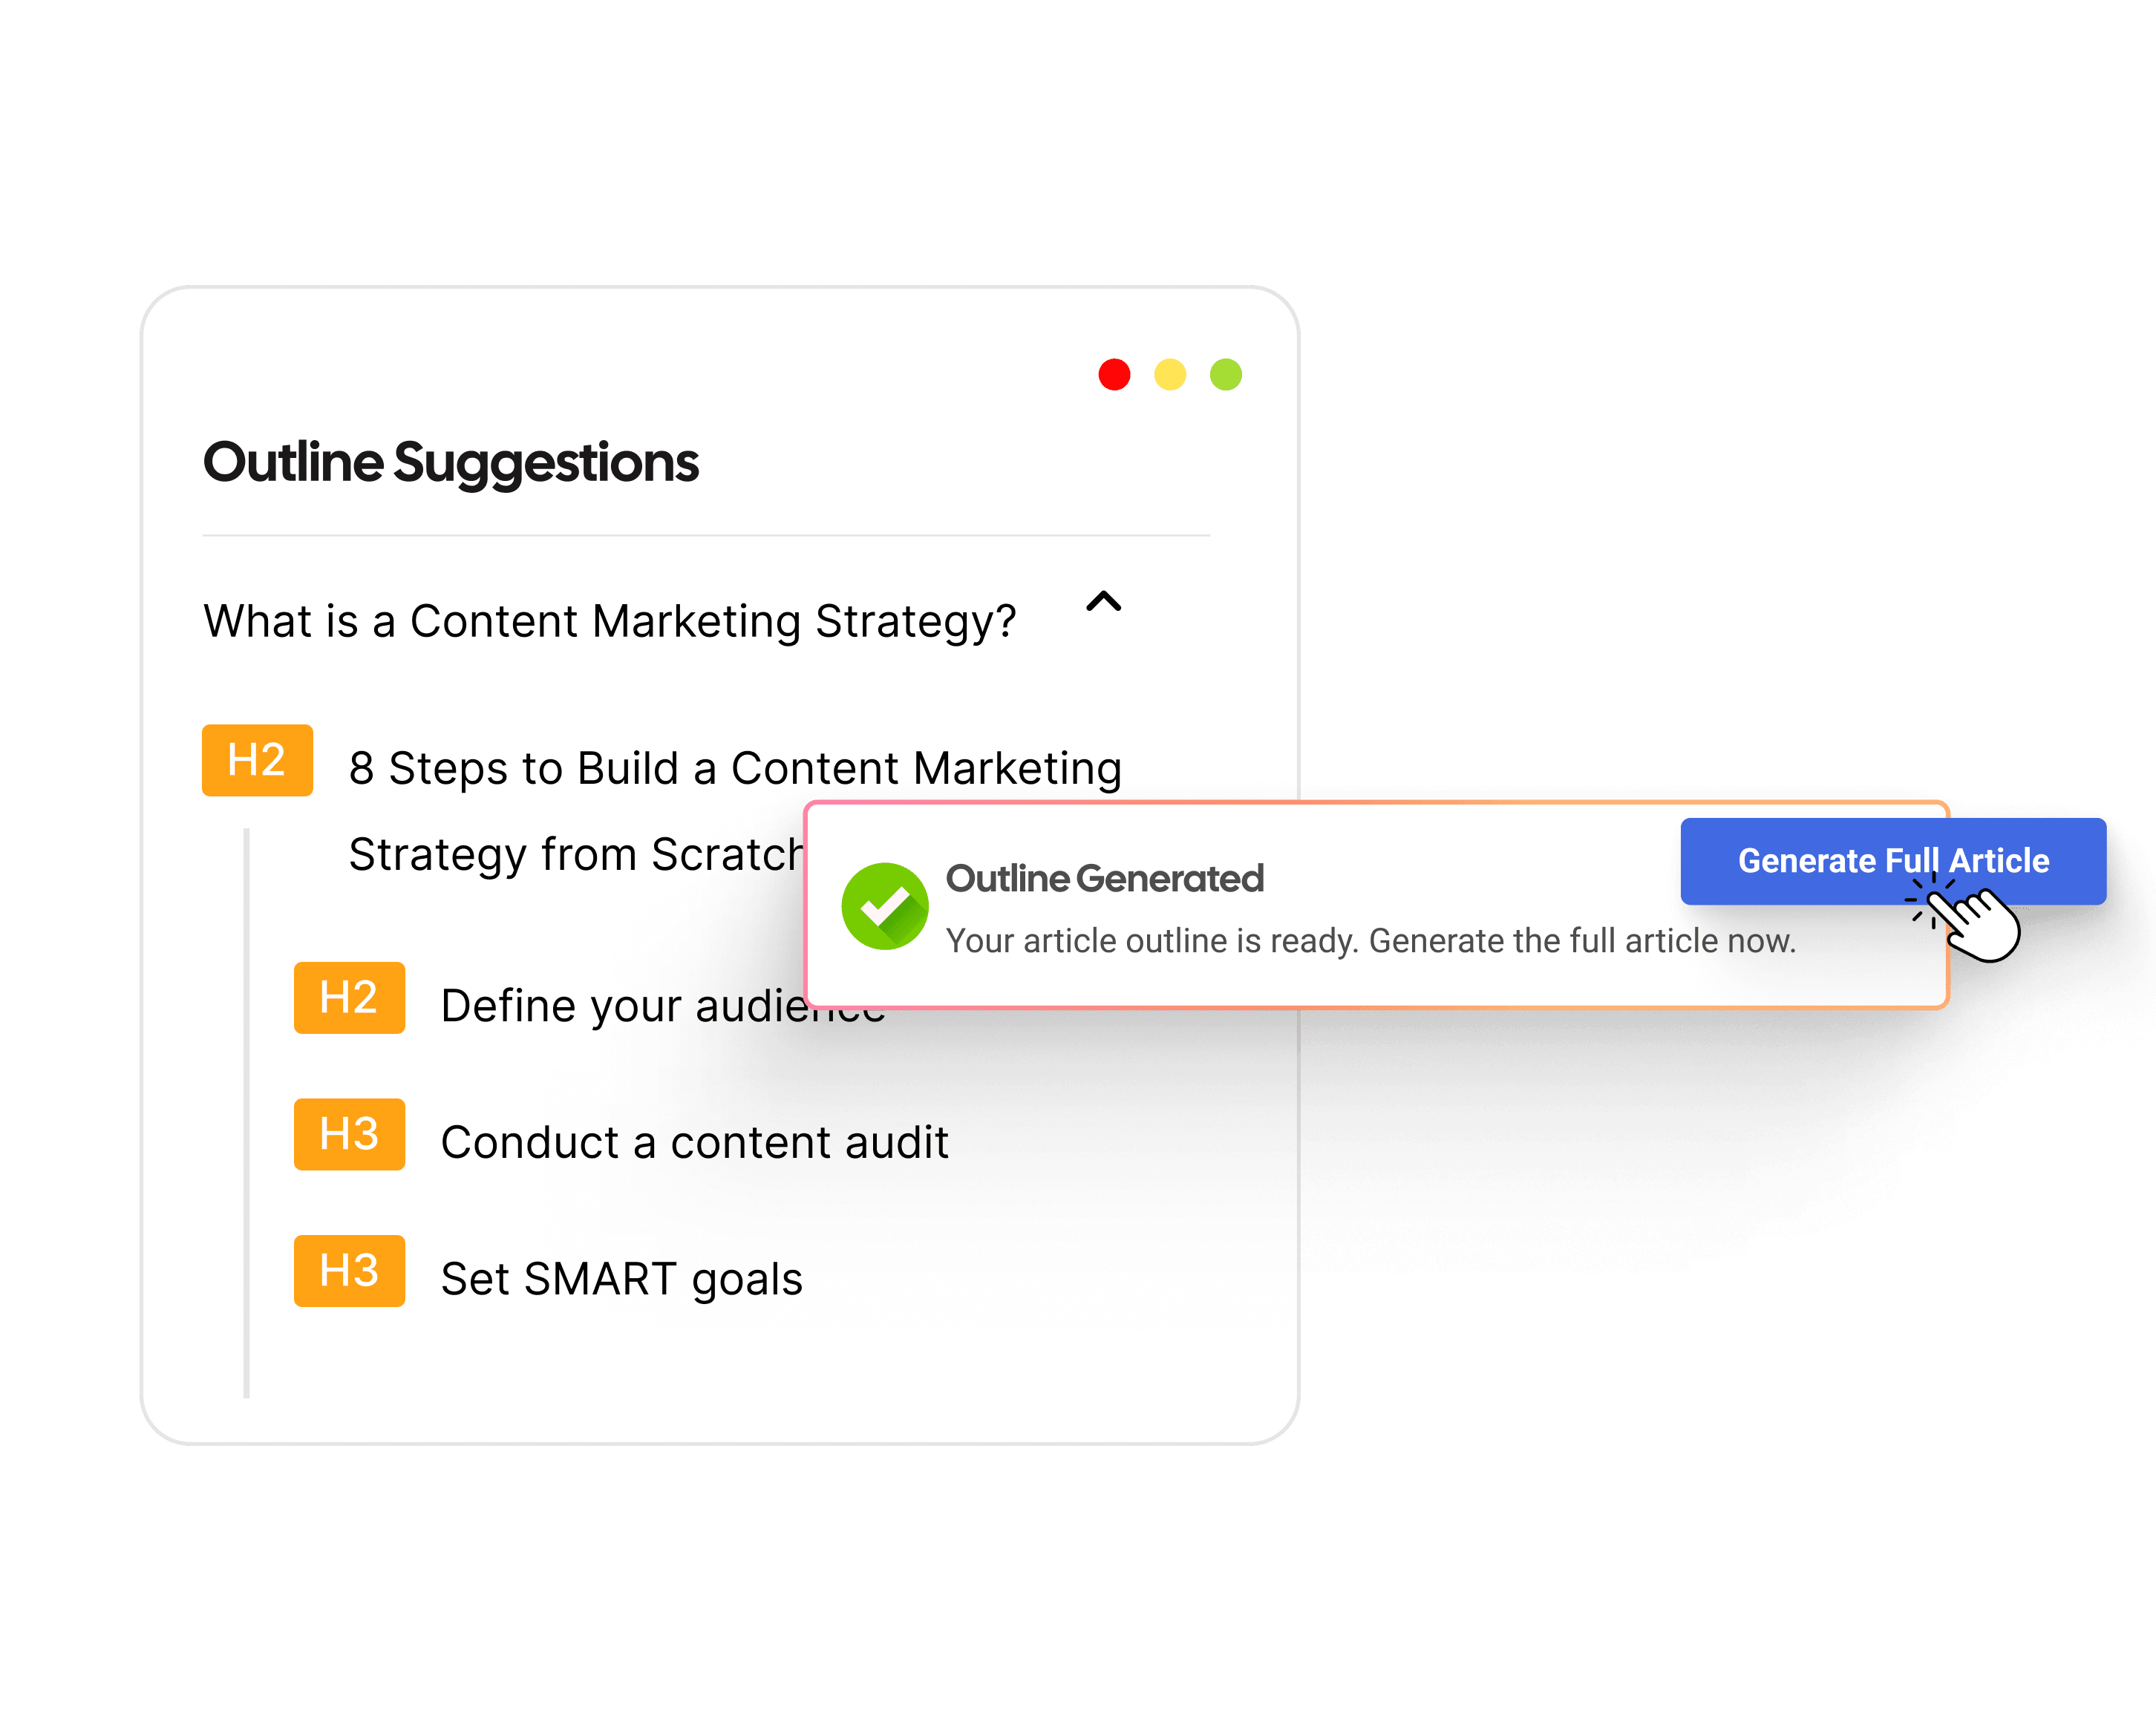
So, instead of staring at a blank page, you outline your value, audience, and origin story, then let the platform draft headings and paragraphs that reflect your own voice.
The optimization tools help polish SEO so a personal story is easily discoverable online, while built-in image creation and one-click publishing to platforms like WordPress keep the process moving.
Because it covers the full workflow, the platform works just as well for a single about-me page as it does for an ongoing personal blog series.
You can also bulk generate content if you want to keep up with your posting schedule or set Contentpen on Autopilot mode for true hands-off content automation.
Summing it up
A blog about yourself earns readers when it leads with value, names its audience, and turns personal details into a story tied to a clear purpose.
The steps covered here turn a blank page into one with a job to do. Structure and a couple of well-chosen photos make that story easy to follow, and revisiting the page as your blog grows keeps it honest.
The best time to draft your own version is now, not after you’ve found the perfect words. Write a rough draft today, publish it, and treat it as a first version you’ll improve later.
You can use tools like Contentpen to speed up that first draft, so you spend your time refining your voice instead of staring at a blank screen.
Write content that’s built to rank, not just read
Create search-optimized blogs aligned with SEO and GEO signals, so your content performs well across search and AI-driven discovery.
Try SEO Blogging FREE →